
Explore the beauty of the woodland with Luminar Neo

This image of our woodland garden in fall processed with Luminar Neo. The image’s colours and mist were enhanced with Luminar and the sun rays added to create this ethereal feeling.
New photo software is latest tool to create my woodland images
The woodland calls out to me in all seasons. In spring, the fresh greens beckon with drifts of welcoming wildflowers, while fall explodes with warm shades of burnt orange, yellows and vibrant greens. Summer gives us the possibility of capturing fledgelings and winter offers nature in all its simplicity.
Documenting this change of seasons has been a passion of mine for decades.
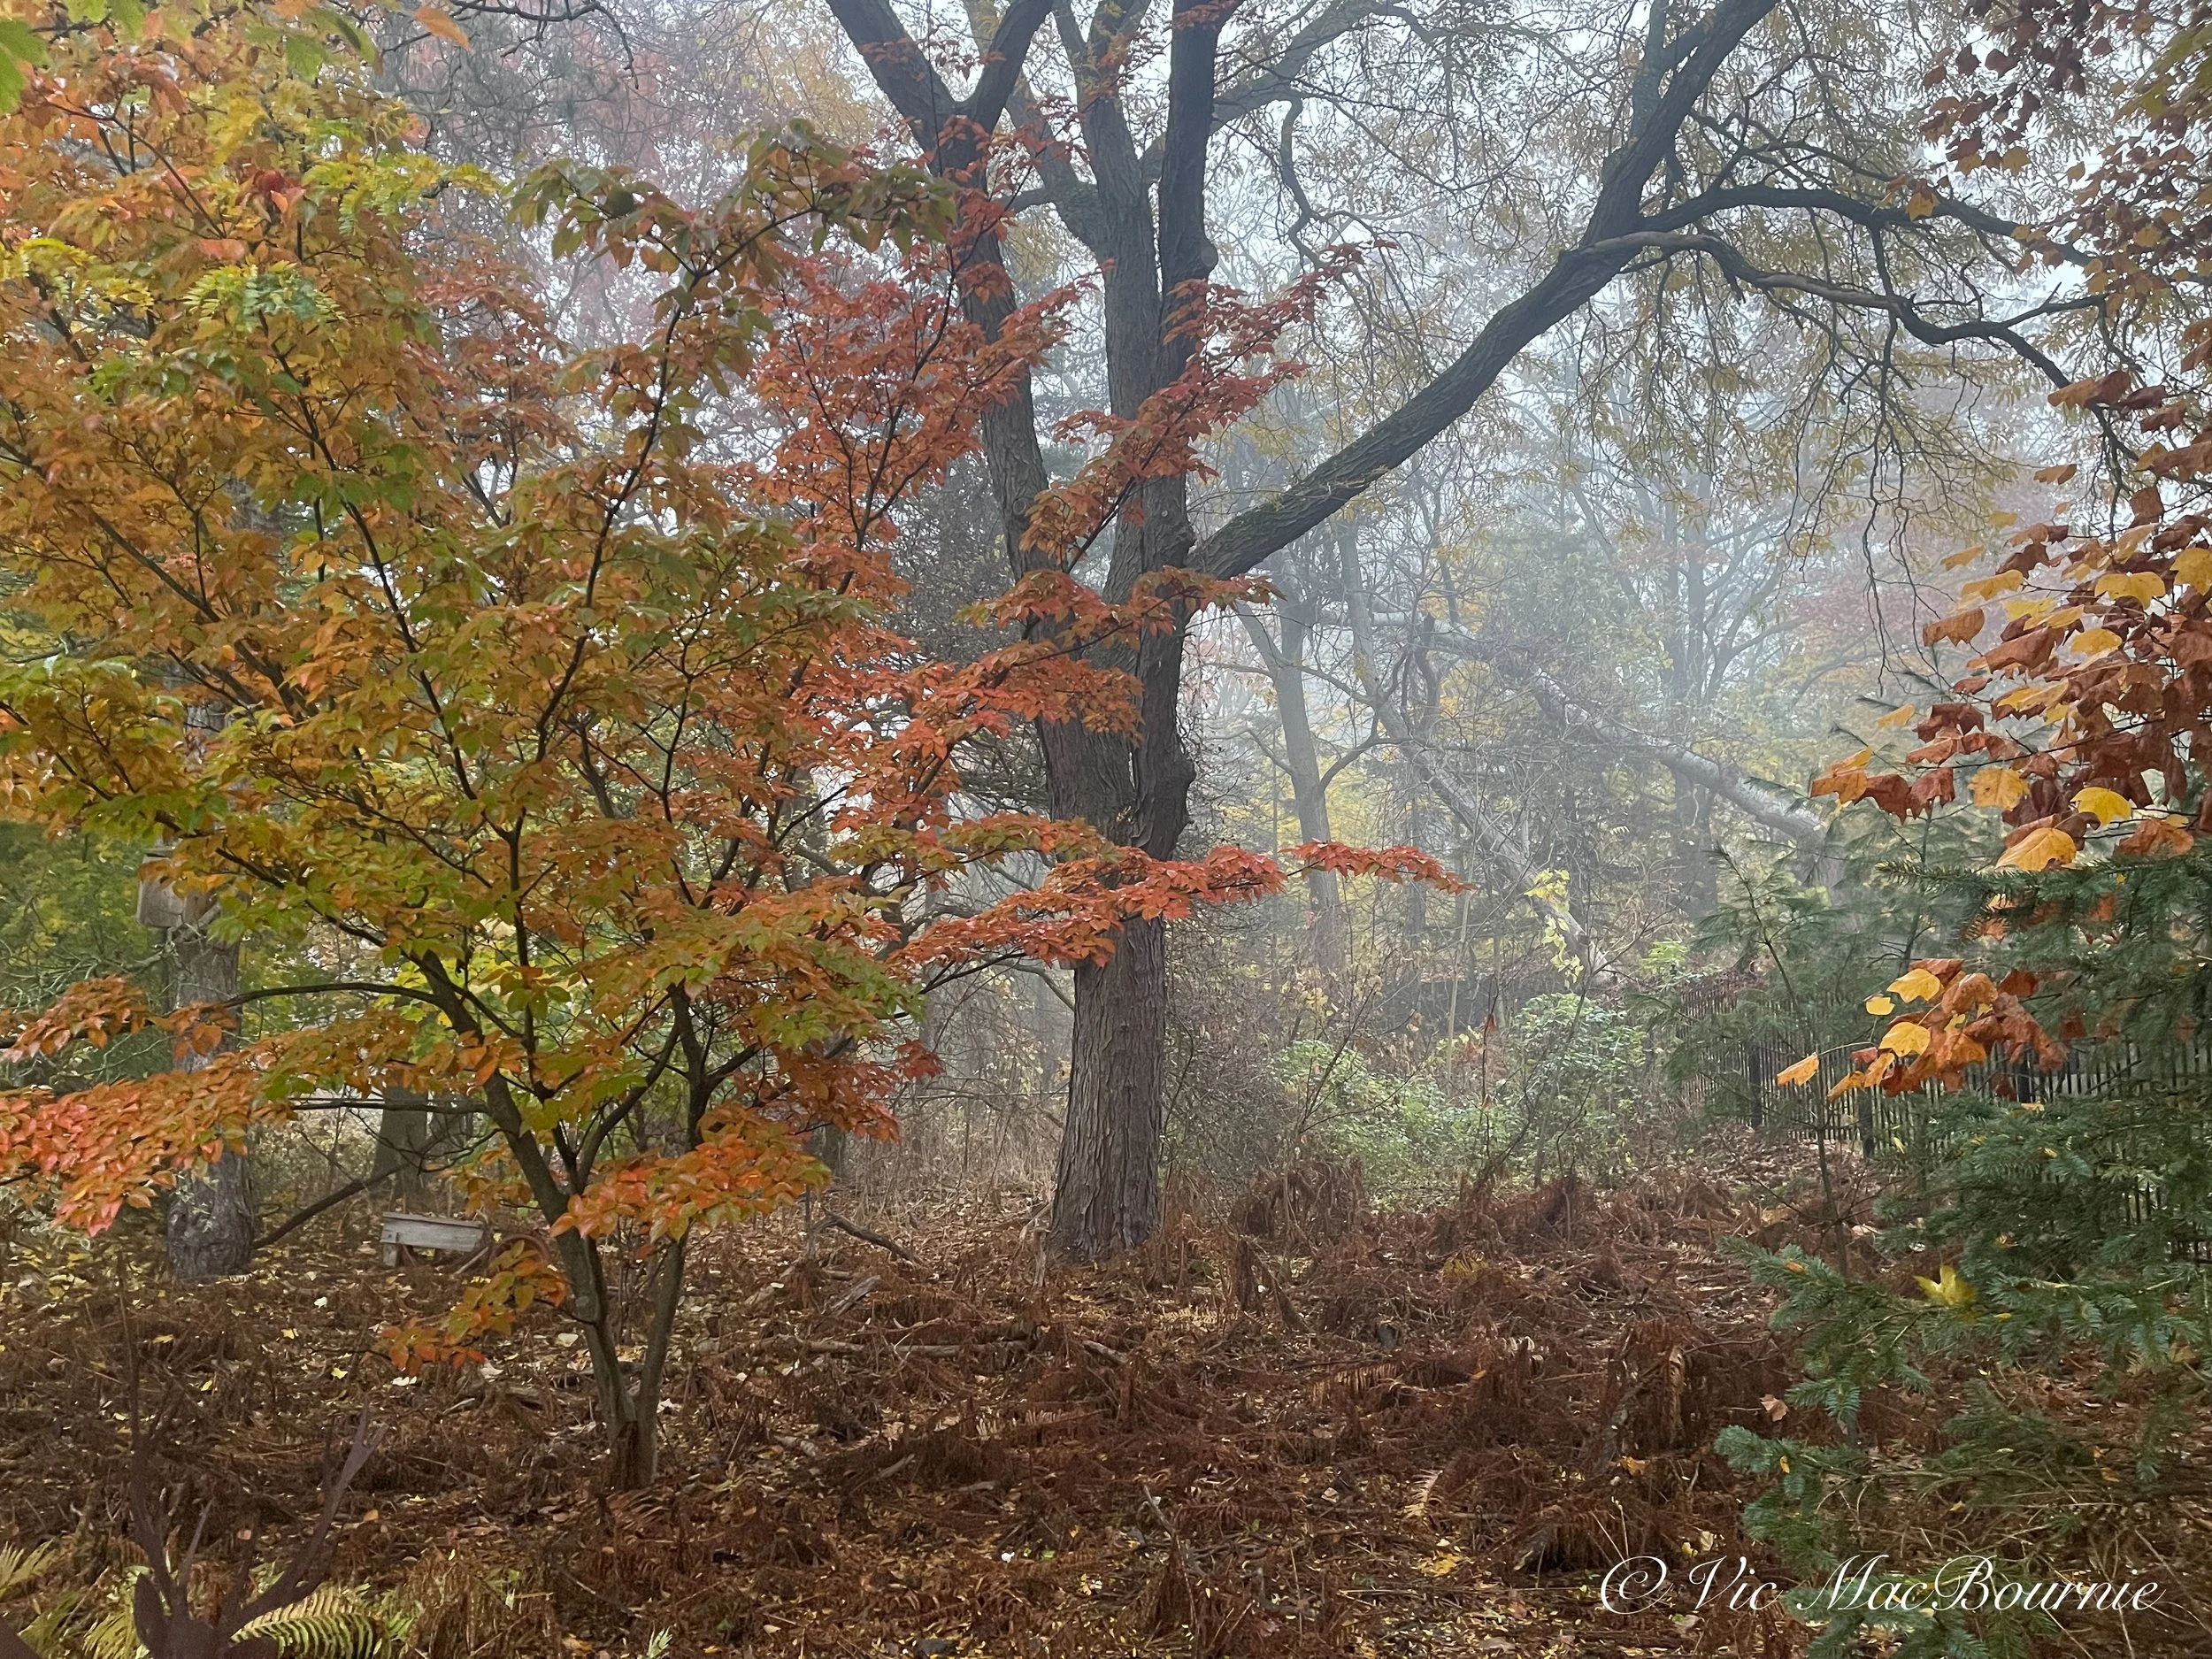
The original image seen here before I added the enhancements (see image above) with Luminar Neo.
My tools of choice have ranged from film cameras loaded with Kodachrome 25 and Fujichrome Velvia, to modern digital cameras ranging from high-end point-and-shoots to digital SLRs and micro 4/3rd cameras.
Photoshop and Lightroom have been important tools along this road, but more recently, a new player has emerged to renew my excitement about capturing and creating memorable images of the woodland, and that tool is Luminar Neo.
Luminar Neo can work alongside Photoshop and Lightroom as plugins, or as a stand alone photo editing program capable of turning your images from average to outstanding. Whether you are new to photo editing, or a master of the trade, Luminar Neo’s tools will satisfy most everyone’s needs.
Read my post on whether Luminar Neo can function as a stand alone photo editing program, here.

Spring in the garden brings an abundance of flowering trees. This cluster of cherry tree blossoms was originally brought into Photoshop for post processing work and then into Luminar Neo for additional work to create an ethereal glow as well as exposure and colour blending. Luminar Neo can work alongside Photoshop and Lightroom as plugins or as a stand alone photo editing program.
Luminar features all the normal editing features of most photo editing programs as well as full masking capabilities. A series of built-in presets allows photographers to create stunning results with the click of a button or two.
Luminar Neo, a photo editing program based out of Ukraine, has taken the best traditional photo editing programs offer and reimagined them to create a simple, easy to understand but incredibly powerful program that enables photographers to create stunning results with a few simple clicks on their computers. If you want to dig deeper into the program’s offerings, there is an incredible wealth of both Ai and traditional tools to transform good images into great ones, and great ones into works of art.
Although I have been using the program for only about one week, I find I am getting very comfortable with its features. The more comfortable I am getting, the more I realize that this may be the photo editing package I have been unknowingly waiting for my entire photographic life.
As I slowly begin to import my images into the program, it becomes increasingly clear that all my vintage slide-film images that I have scanned into my computer have an opportunity for new life with the help of Luminar Neo’s toolbox of features, from pre-programmed presets, to impressive Ai tools that can instantly transform your images with a click of a button.
I should say that Luminar has provided me with the program, but in no way have they tried to influence what and how I review their photo editing program. I will say, however, that along the way they have been incredibly helpful answering questions and providing training.
“Photoshop and Lightroom have been important tools along this road, but more recently, a new player has emerged to renew my excitement about capturing and creating memorable images of the woodland, and that tool is Luminar Neo.”
The following is a brief explanation of how the five images in this post were transformed in post processing using a combination of Photoshop, Lightroom and Luminar Neo. It should be noted, that although Photoshop and Lightroom may have been used for some processing of these images, from my experience to date Luminar Neo is entirely capable of creating most of these images on its own.
In my next post, I plan to take a number of images from start to finish using only Luminar Neo’s wide range of photo editing tools.
Let’s get into Luminar Neo
Luminar Neo features all the normal editing features of most photo editing programs as well as full masking capabilities. A series of built-in presets allows you to create stunning results with the click of a button or two. Presets include modules on: Scenery, Big City Lights, Sunsets, Overcast situations, Landscapes, Waterscapes as well as our Animal Friends. It’s also easy to create your own presets as well as saving your favourites to use later on other images.
The develop/essential module includes a highly effective denoise module, Black &White, Colour, Vignette, Structure and Details settings.


Here you can see the original image prior to subtle enhancements (above) with Luminar Neo.
In the Landscape module, photographers can take advantage of Sunrays, an Ai Twilight Enhancer and Atmosphere enhance as well as a Water-Enhancer module.
There are separate areas for photographers who like to experiment with creative modules including Magic Light, Mood, Toning Neon Glow and Mystical. Black and white and Film Grain modules are perfect for Lomography fans.
It is in the Mystical module under Glow that photographers can choose between soft focus, glow, Orton effect and Orton effect soft. The modules also have a slider that allows photographers to control the amount of the effect, giving you complete control of the look.
Five images processed with Luminar Neo
This post will explore some of the filters used in Luminar Neo to enhance these images.
• In the top image of our woodland garden in fall captured on a smartphone during an early morning walkabout, I used Luminar Neo to enhance the misty morning with its Ai mood feature. In addition, the sun rays were added with the program’s very effective Sun ray module that allows the maker to not only add sun rays, but have complete control over the effect of the rays, including the number of rays, length, strength and warmth.

This waterlily benefited by the water enhancement module by darkening the water and adding a blue cast.
• The second image of a cluster of cherry blossoms was post processed in Photoshop where I used a number of brushes to soften the edges of the image before bringing it into Luminar Neo where it was given a more ethereal look through the use of softening and mood filters as well as a vignette to further lighten the edges. Unlike many other photo editing programs, Luminar’s vignetting capabilities allow the photographer to control how and where the vignetting appears on the image.
• The third image of the deer in the woods, was first processed in Lightroom where a number of distracting elements were removed as well as focus softening added to the background. It was then brought into Luminar Neo where additional mist helped soften the background. Although I liked the original image, Luminar Neo’s mystic filter was called on to create a mood in the image that I think really adds to the mood of the early-morning image.
• Waterlily benefitted from another Luminar Neo module that focuses on enhancing water in your images. The module allows the maker to enhance both the darkness and lightness of the water as well as adjusting the water’s colouring in the blue and green ranges.

Monarch on sunflower was enhanced with Luminar Neo adding subtle sun rays emanating from the top left corner. Subtle orton glow was also added to the original image.
• A combination of subtle orton glow and sun rays were added in Luminar Neo to the monarch butterfly on sunflower.
Final thoughts on Luminar Neo in the woodland
The five woodland images in this post are examples of how Luminar Neo can enhance existing photographs. If you are an experienced photographer, Luminar Neo can be used to enhance images that have already been post processed in other programs. However, as a stand-alone program, Luminar is also a fully-capable editing program.
If you are new to photo editing, Luminar Neo has built-in presets that make post processing as simple as just a few clicks. For more experienced photo editors, the presets can be used as a starting point for more exacting photo enhancements.
This post is meant to give readers a taste of what Luminar Neo offers. The article barely touches on the full capabilities of the complete program. Over the next several months, I will try to provide more detailed information on the many modules and features and how they can be used in the real world, either for nature and woodland images, or other styles of photography from street photography to travel and people photography.
If you are interested in purchasing Luminar Neo, please consider using the code FernsFeathers at checkout to receive a 10 per cent discount. By using this code, I receive a small percentage of the proceeds which helps me to continue producing articles for readers.
