
Front and backyard landscaping with rocks, gravel and mulch
Look to nature to create a natural, rockin’ landscape

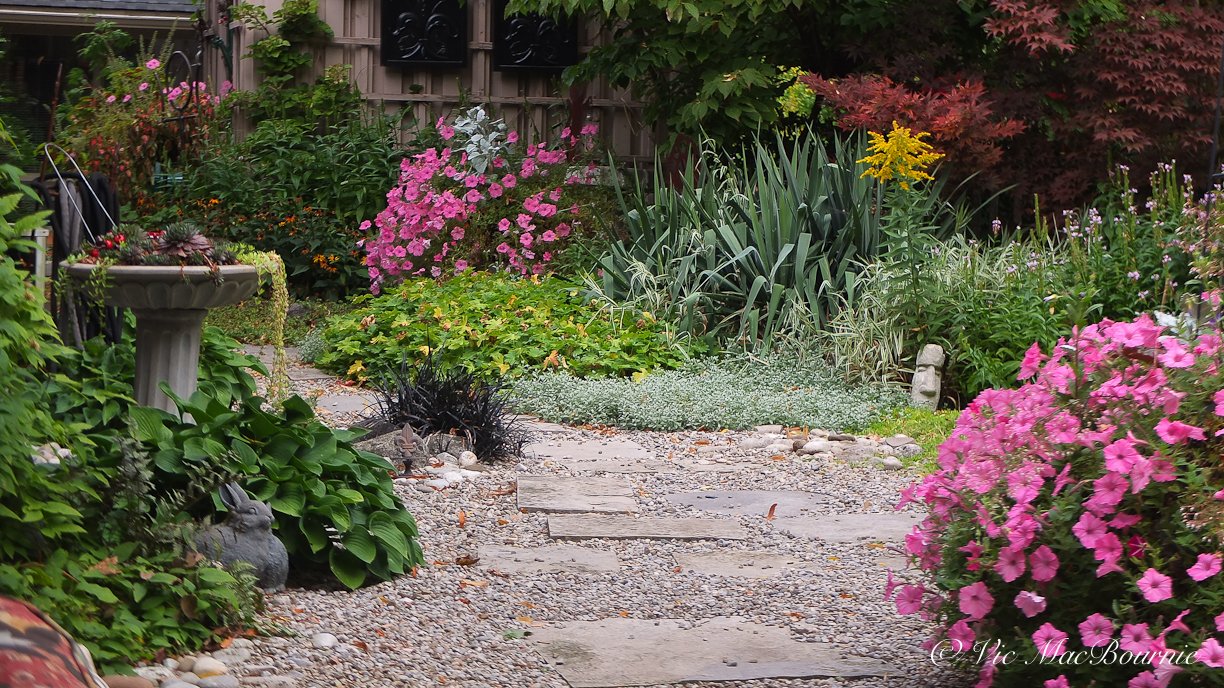
This large boulder creates a beautiful backdrop for fall’s stunning colour. It sits in our Japanese-inspired garden along with several other large boulders, pea gravel and large river rock.
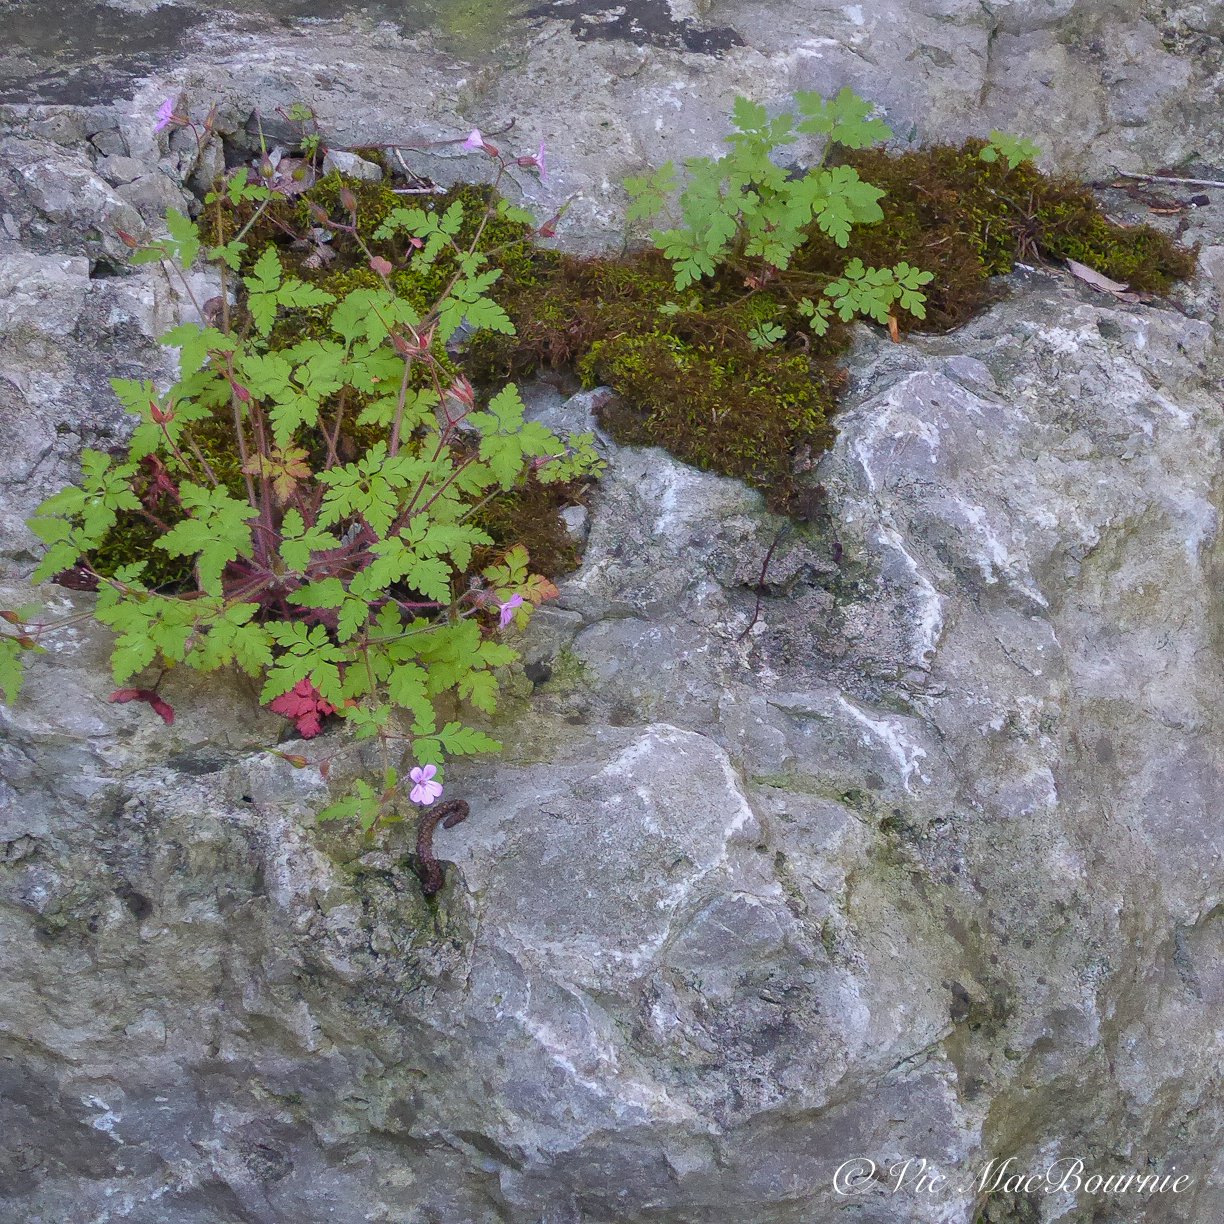
There is nothing like a moss-covered rock placed perfectly in a garden to create a natural focal point.
But take that same moss-covered rock and place it improperly in the garden and it quickly creates an unnatural look that suggests the gardener or landscaper was decorating with stone rather than using it to create a natural feeling in the garden.
Decorating with stone is the single biggest mistake gardeners and landscapers make when using boulders, rocks and stone in the landscape. If your goal is to create a natural-looking garden, try not to get caught in the decorating mode.

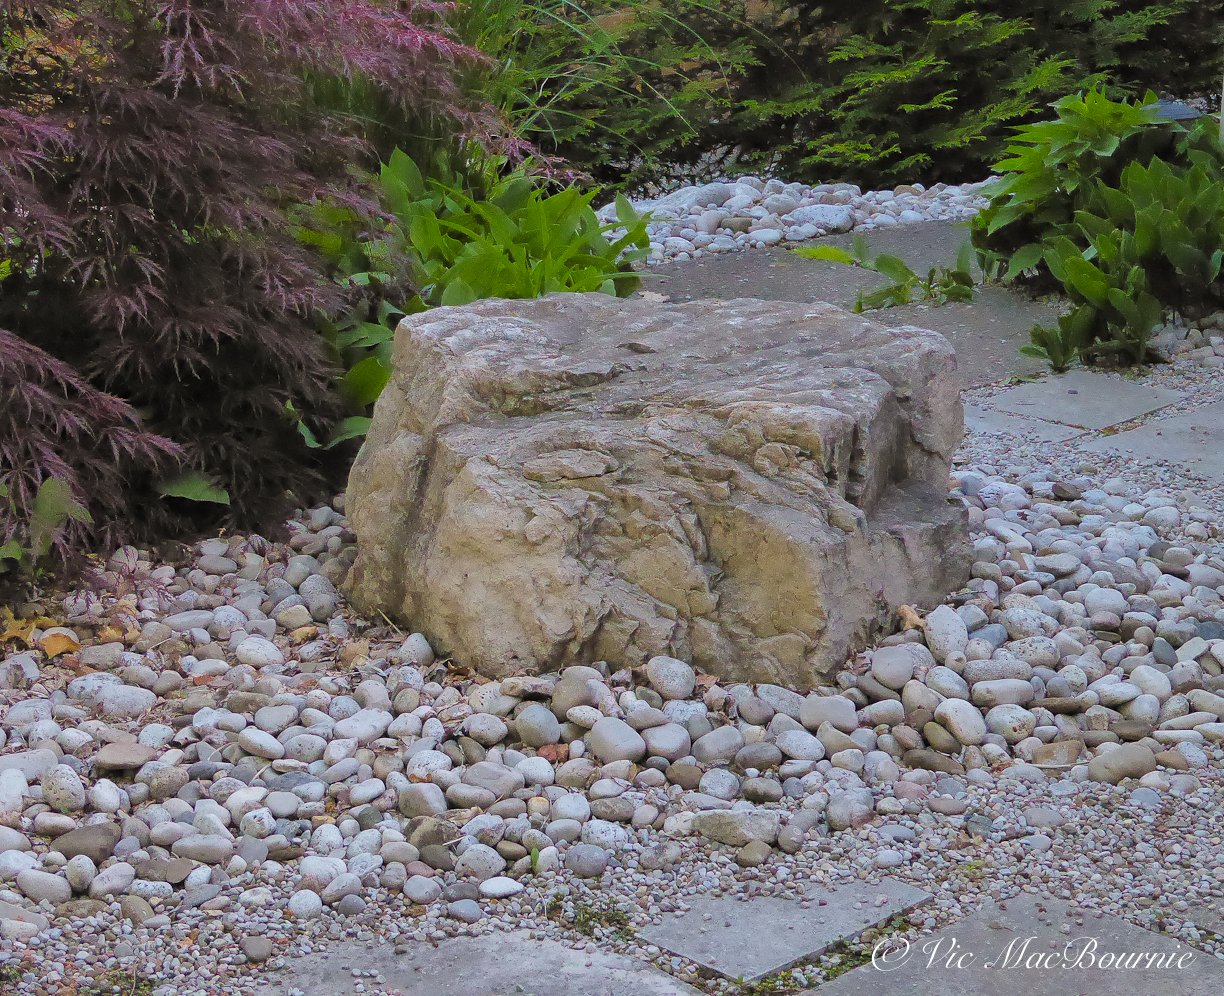
An example from my garden on how not to place a rock. Notice that it is sitting on top of the mulch (Chipmunks have appeared to even have burrowed under it). In addition, the rock is standing on its end in an attempt to maximize its size. Much better to let it lie on its side while using it to hold back a little soil. (I have some digging to do.)
Always take your cues from nature. In fact, it never hurts to find some rock moss to grow on the rocks to help with the natural look.
There are many reasons to use rock and stone in the garden: for utility purposes such as a retaining wall to hold back soil; to create garden design elements such as a dry river bed or a natural stone pathway; or as a focal point such as large moss-covered boulders rising out of the ground.
“The job of the natural gardener is to place elements in the garden as nature does. The site of every object in the garden should answer the question “why is that there?” We may choose to place a boulder where it might have ended up had it rolled sown a hill to our garden. Or where it may have emerged from a glacial till as the surrounding soil was washed away by 10,000 seasons.””
All of the above projects can be made to look natural to some degree or more decorative if the wrong choices are made such as using a type of stone or rock that is not indigenous to the area. Bright white quartz rarely has a place in a natural landscape.

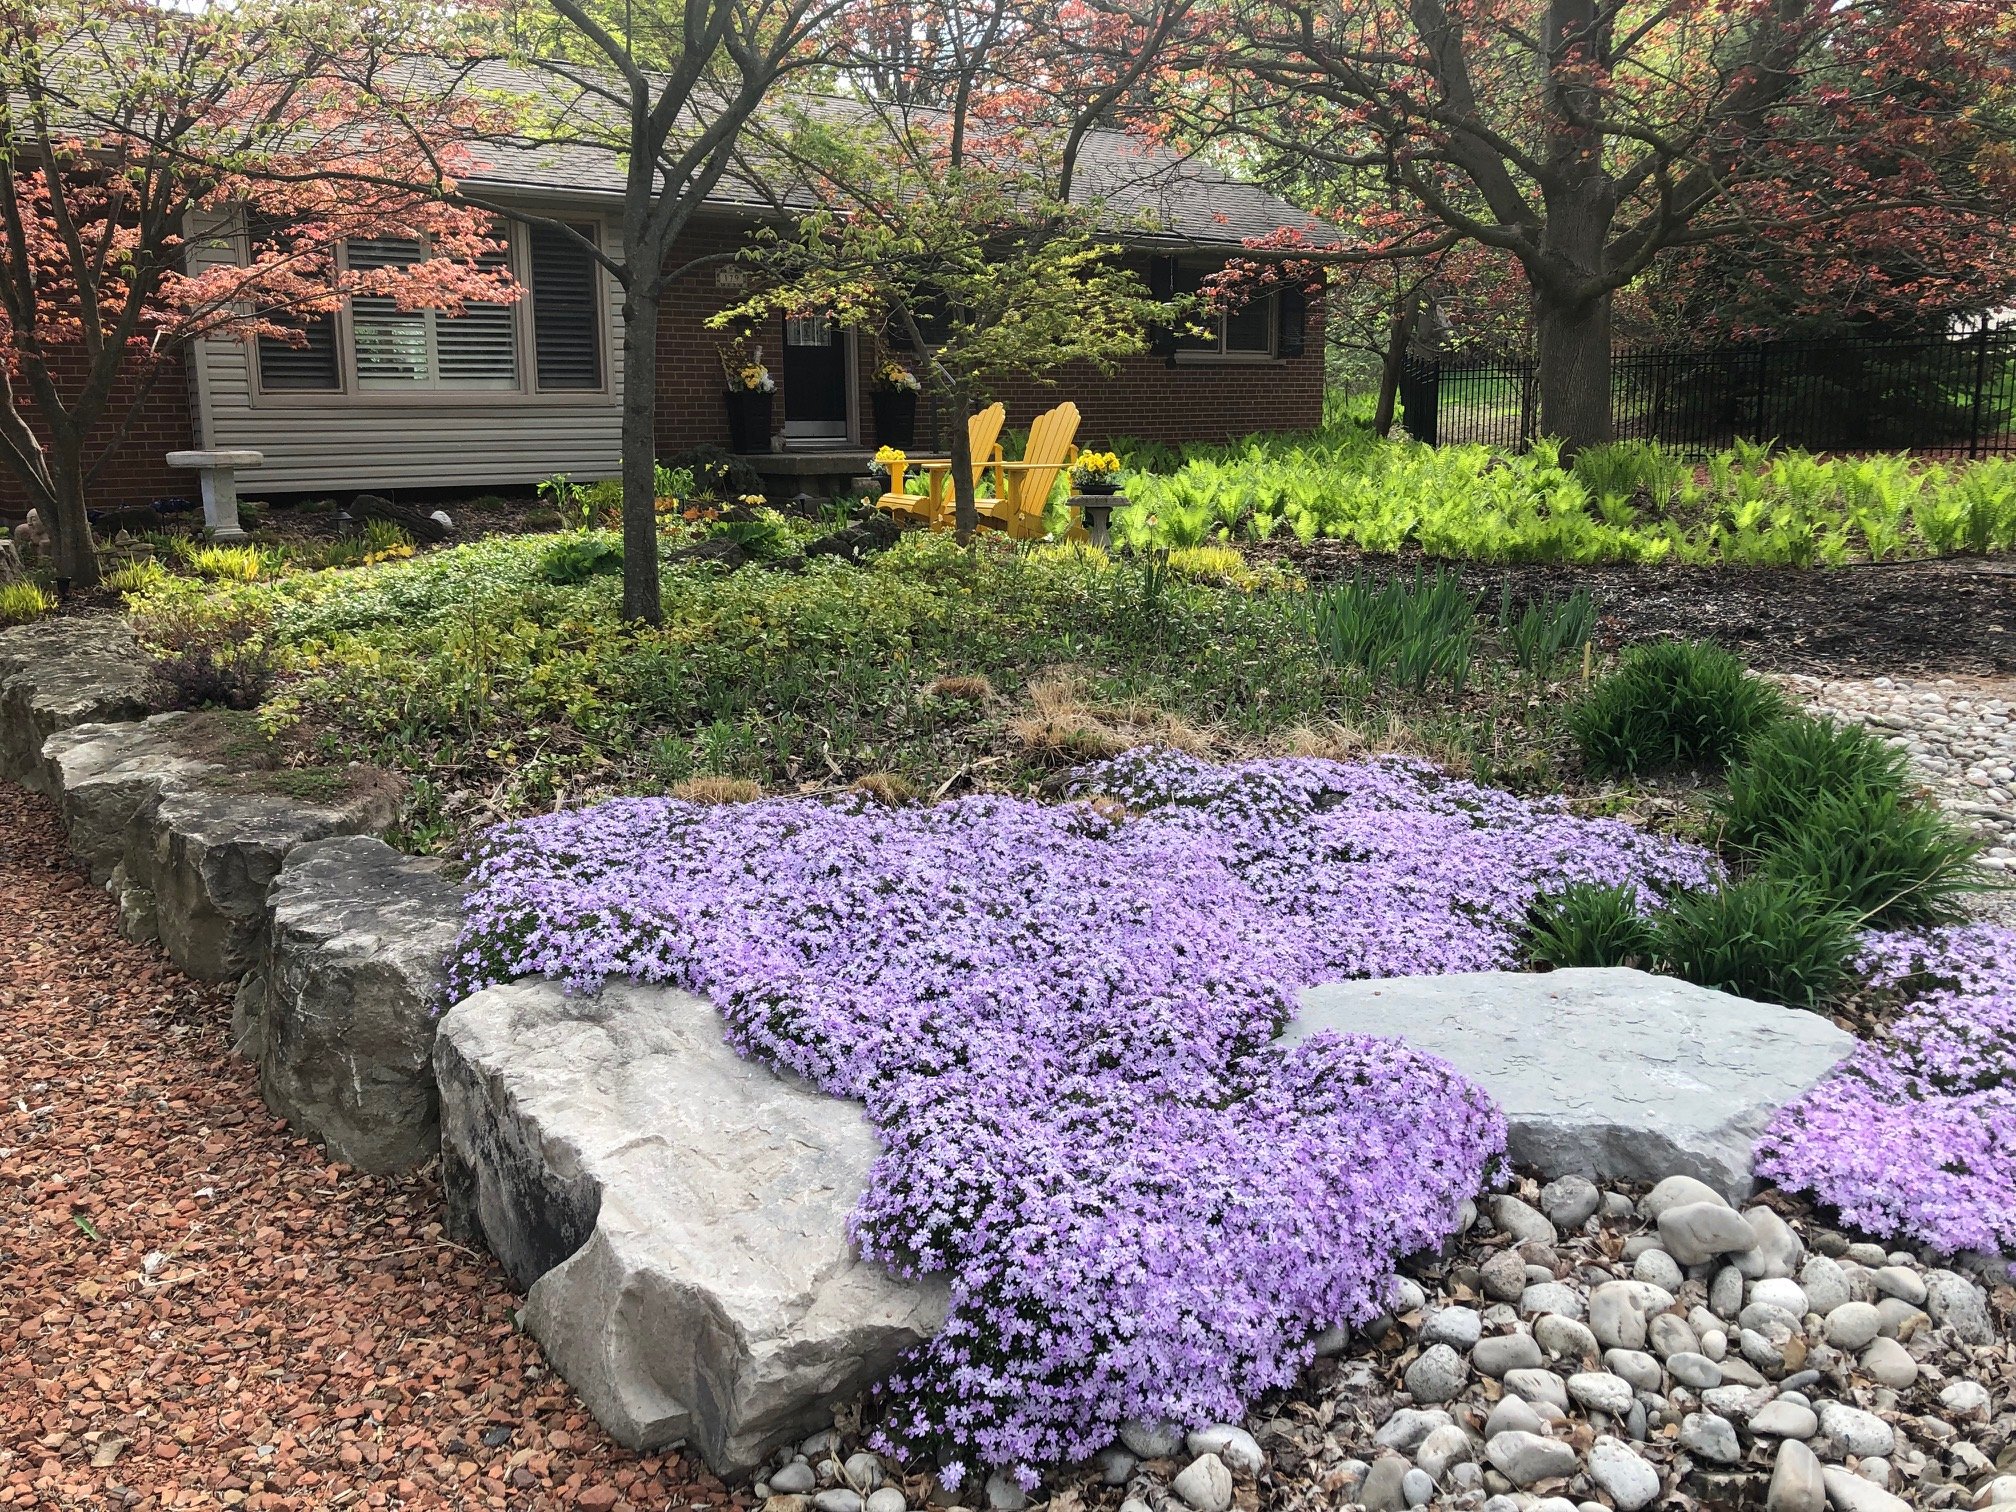
Using boulders, rocks and pea gravel in a natural landscape creates wonderful opportunities to capture stunning moments in the garden.
A walk through most neighbourhoods reveal the “decorating” mistakes. There are those who place small rocks meticulously around the edge of a border; or those who place river rock in a half circle to replicate a dry river bed; or, the worst sin of all, placing boulders on top of the soil rather than digging them into the landscape. To make matters worse, these boulders sitting atop of the landscape are often placed on sloped ground making it look like our beautiful boulder is about to roll down the hill.
Placing stones to look natural in the landscape
So what’s the secret to placing stones properly?
Jeff Cox, in his book Landscape with Nature provides this solid explanation: “The job of the natural gardener is to place elements in the garden as nature does. The site of every object in the garden should answer the question “why is that there?” We may choose to place a boulder where it might have ended up had it rolled sown a hill to our garden. Or where it may have emerged from a glacial till as the surrounding soil was washed away by 10,000 seasons.”
He asks readers if they can “feel the presence of large boulders somewhere down under the earth? Can you feel them slowly rising toward the surface or rather the surface slowly descending toward them? Look at your site. Where would one of these boulders emerge? Get a feel for it. Then bury the bottom 2/3 of the boulder to make it look like its coming out of rather than going into the ground,” says Cox.
“Take any three objects such as three different rocks and arrange them anyway that seems balanced,” he adds. '“An evenly spaced straight line seems very static and unsubtle. A much more satisfying arrangement is for the two smallest rocks to be relatively close together and the third larger rock at sOme distance, their masses balancing on an unseen focal point somewhere between them.”
“In a natural garden try to use plants as nature might. The goal is not to border our beds with bright colours but to pay homage to natural beauty with artistic interpretations of it,” Cox concludes.

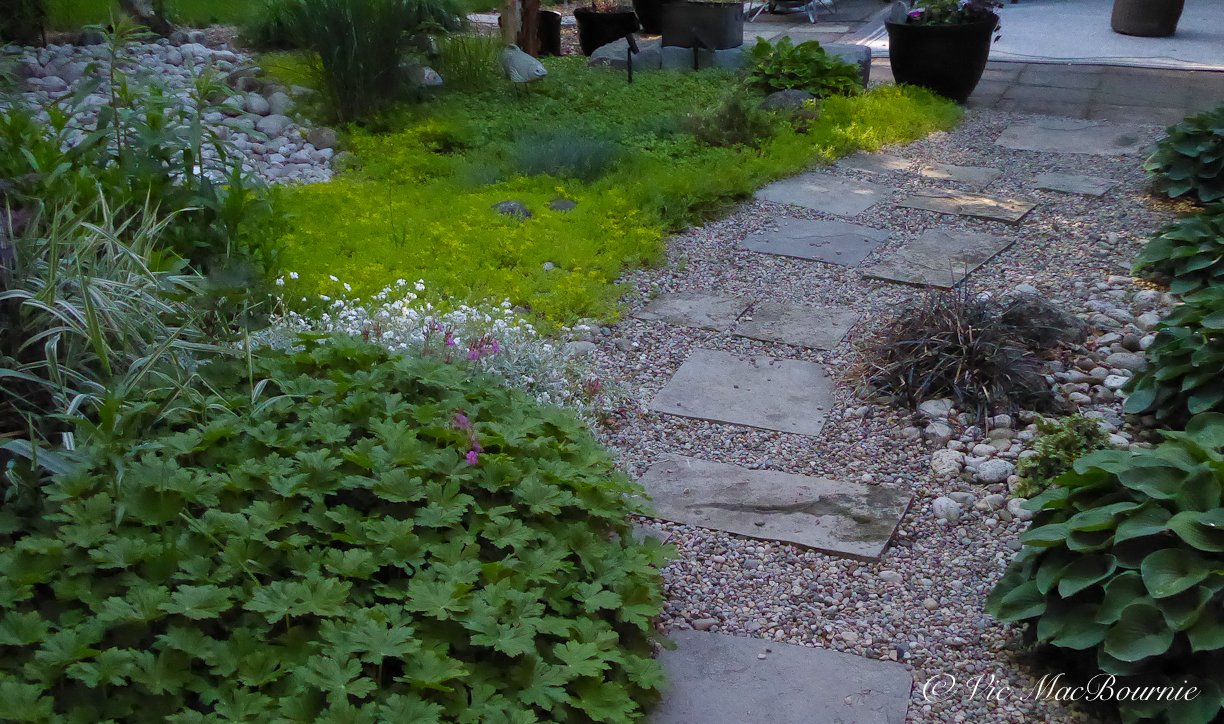
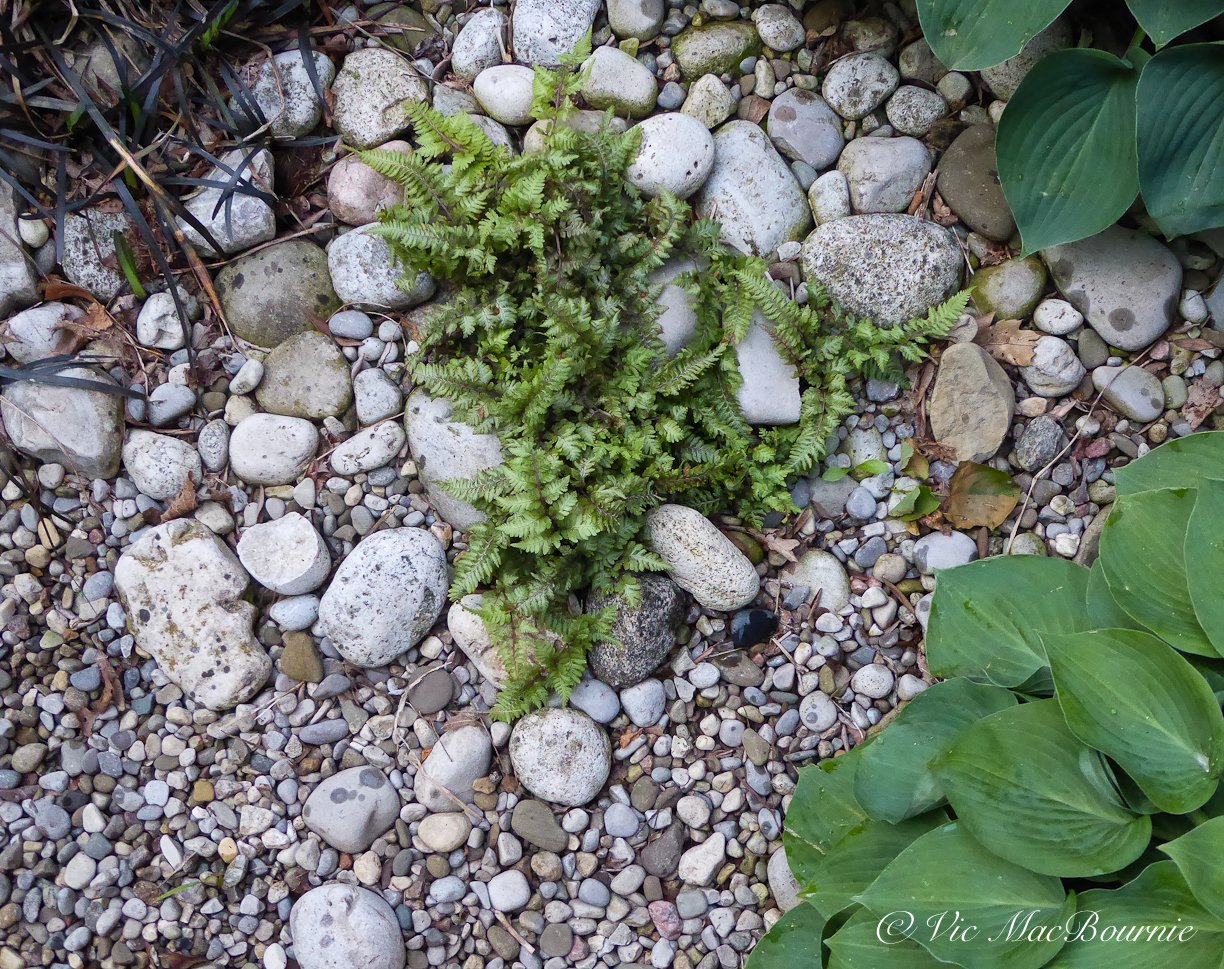
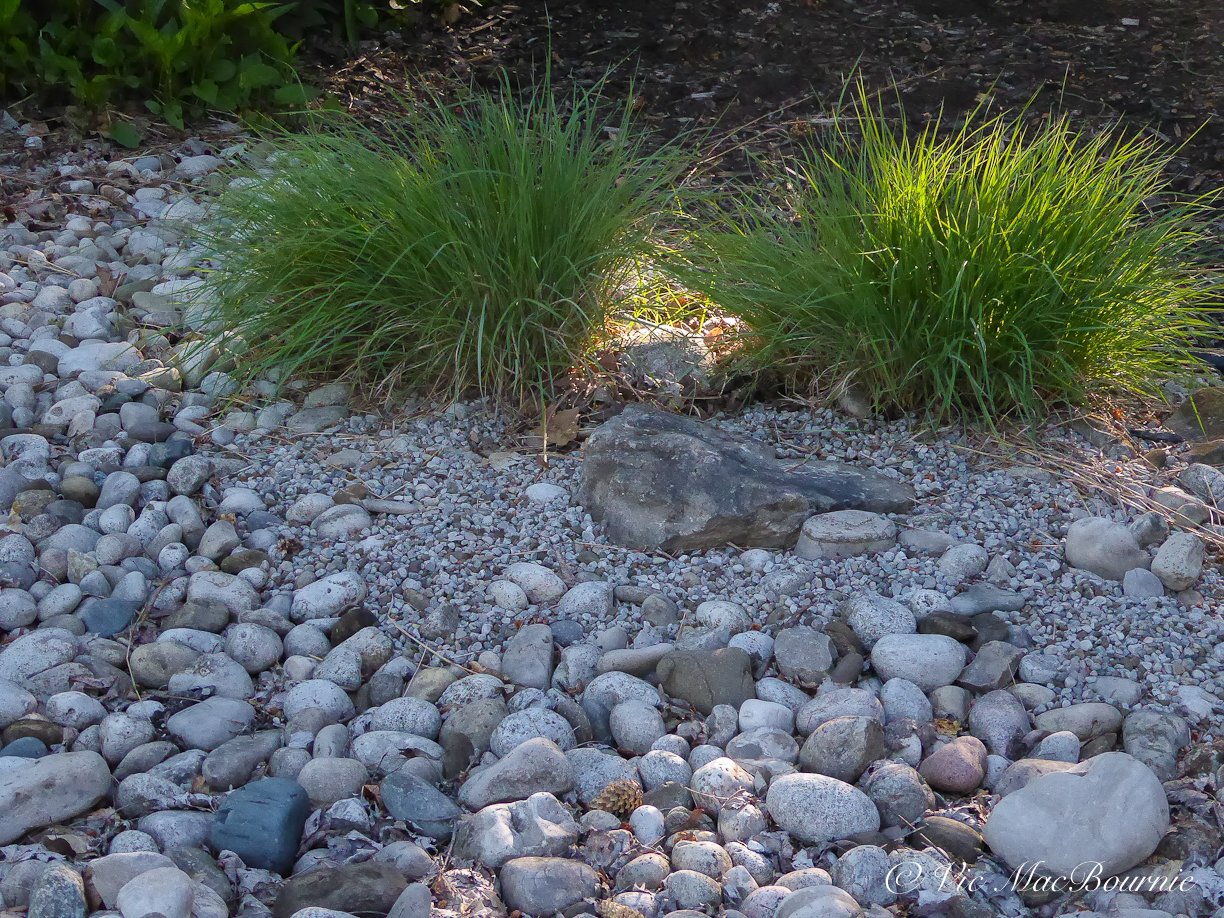
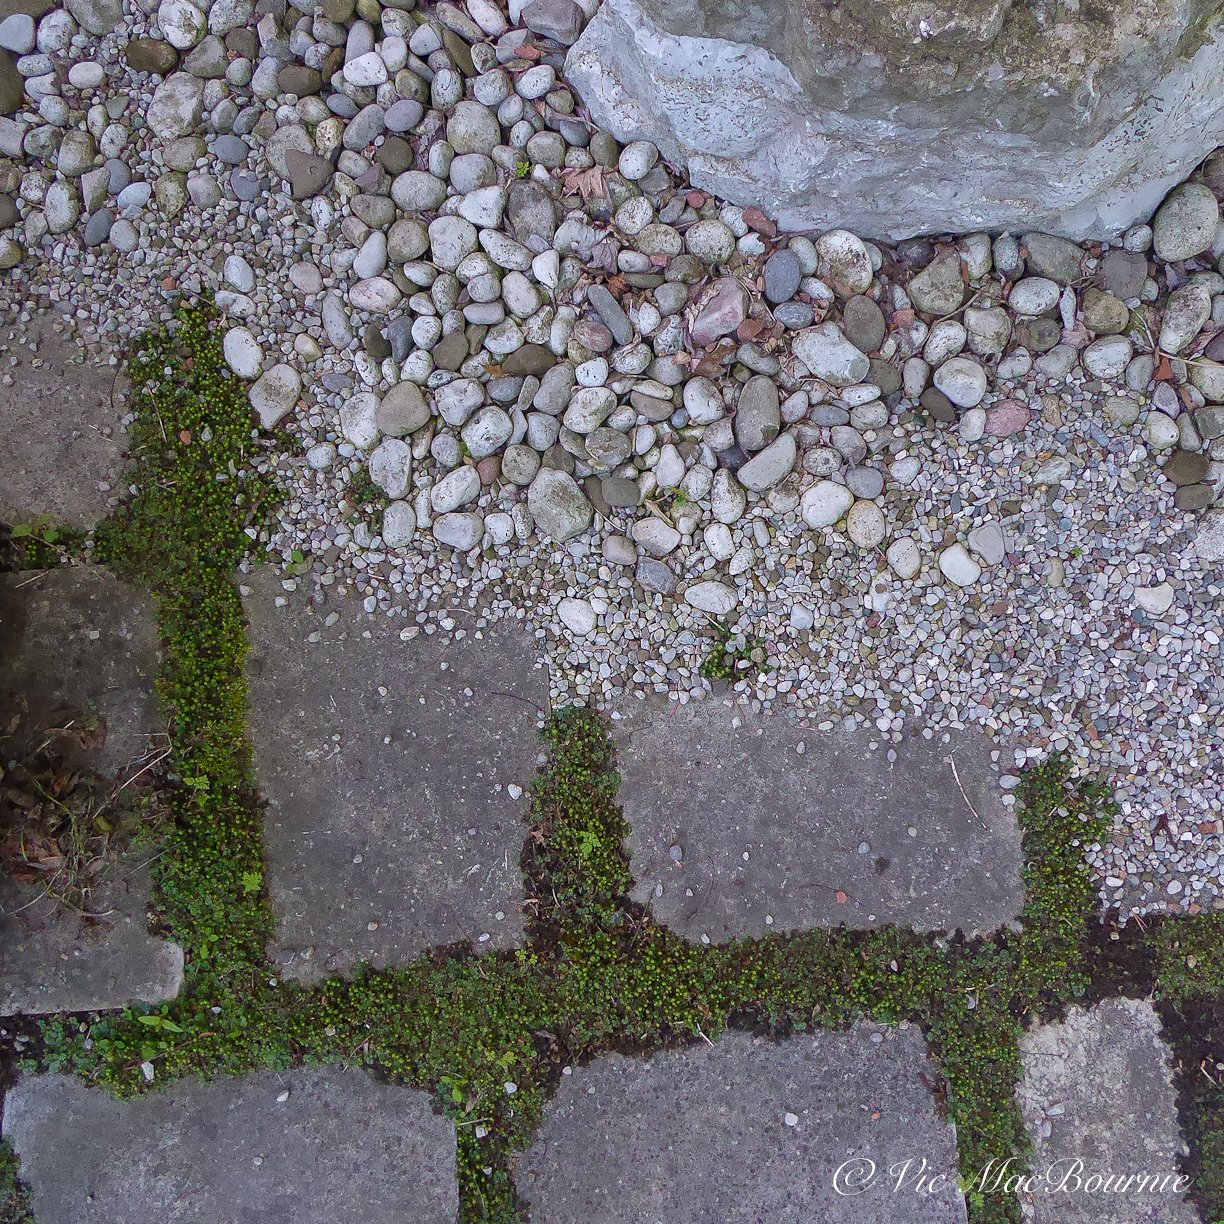
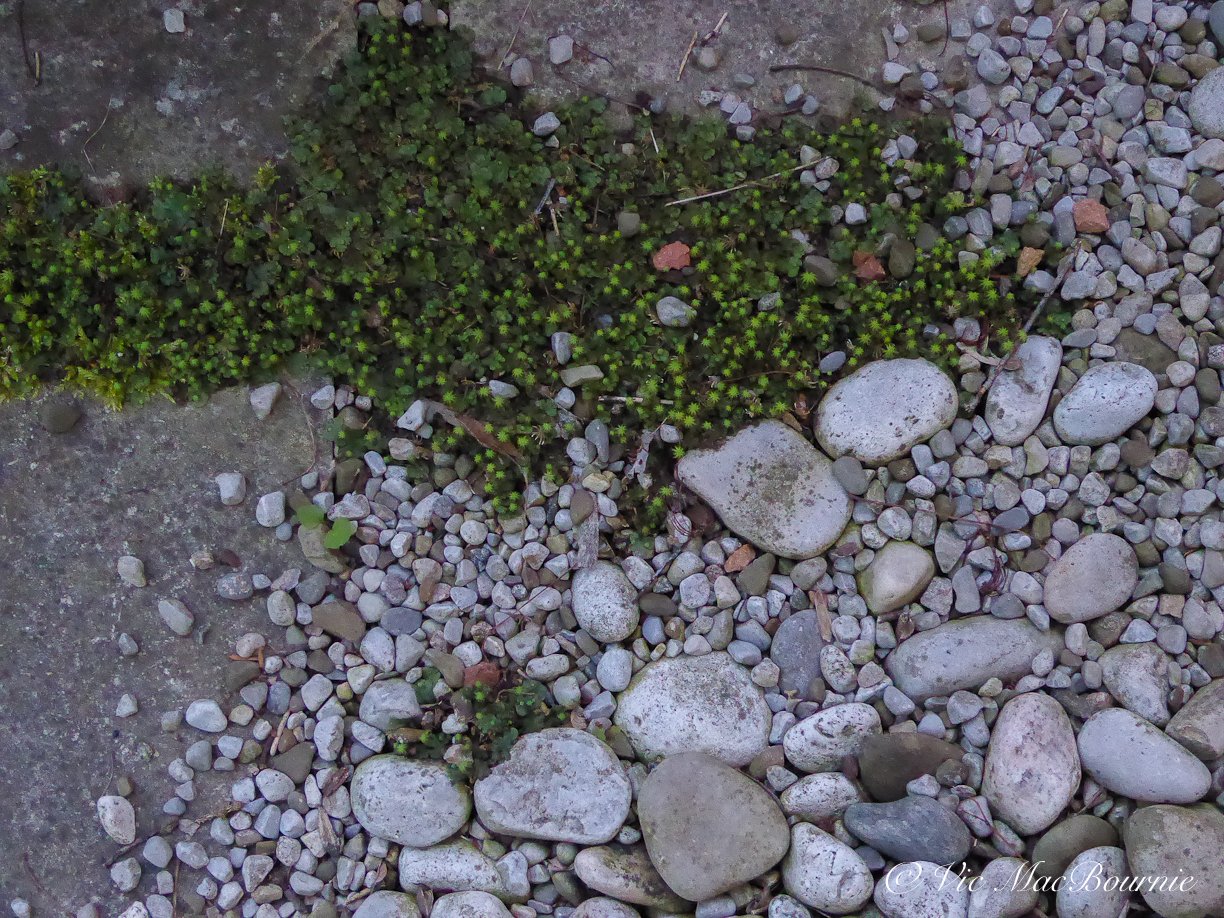
Here is an example of using different-sized river rocks and pea gravel along a dry-stream-look path that looks to nature to give the garden vignette a natural feel. In nature, a black mondo grass seed may have gotten caught up in the rocks and began growing. The natural vignette helps create interest to slow the visitor along the pathway. I used black mondo grass so that the plant blended in to the more or less black and white scene. A brightly coloured flower would have spoiled the lovely monochrome garden vignette.

The simple answer: try to place the stones as they would appear in nature.
Not sure how they would appear in nature?
Learning from nature’s rock placement
Take an afternoon to visit a natural stream and study how Mother Nature places the rocks and stones with the larger ones anchoring the stream, smaller ones closer to the edge of the stream and pea gravel and or sand filling in the edges suggesting areas where the water has a gentler flow. Notice how, in nature, not all the river rock is the same size. There are boulders, large rocks and smaller rocks. Often there will be several sizes of river rock as well as pea gravel and sand.
(Looking for inspiration, check out my post on using local woodlands as inspiration for your garden.)

To create a realistic dry river bed, you don’t need to include all the sizes, but using only one size of river rock for the entire stream bed, is unlikely to look natural. When you are ordering from the rockery, include at least two sizes of river rock, some larger boulders and pea gravel.
The result will have a more natural look and allow you to transition down from the larger rocks to the smaller ones right down to the pea gravel on the edges of the stream filling in any holes between the larger rocks.

Placing larger boulders in the landscape
When it comes to placing large boulders, plan to do some digging.
In nature, boulders sit in the landscape, not on top of it. Even if a piece of a large boulder has broken off another boulder, it will in time be absorbed into the landscape through a combination of sinking into the soil through regular freezing and thawing, and soil building up around the boulder as leaves and forest detritus gets blown around the base of the boulder.
You may have thought you purchased a large boulder for your garden, but if I said you may have to bury a quarter to a half of the boulder underground for it to look right, it doesn’t take long to realize that boulder you purchased is not going to make as big a statement in the landscape as you might have thought. Most boulders need to be buried deep in the ground to look natural in the landscape. Boulders should look like they are rising out of the landscape.

Depending on the boulder, you may get away with sinking it just a couple of inches into the ground. Just make sure that the boulder looks like it was always part of the landscape.
If you are placing boulders, it’s best to think odd numbers. Not unlike planting flowers in groups of 1-3-5, using the same way of thinking also works for placing rocks.
In our Japanese-inspired garden, I was lucky enough to scoop up a number of massive boulders from a neighbour's backyard project.
The trick was how to use them effectively. By using three of them in one grouping and a single one on the other side of the Japanese-inspired garden, I was able to keep the groupings to odd numbers. The boulder sitting by itself on the one side is teamed with large grasses and a weeping Japanese Maple providing visual balance between the two groups of boulders.
Staying with the Japanese-inspired garden and placement of the large boulders. In true Japanese style, a single boulder may be all that is in the garden surrounded by sand or fine pea gravel that is meticulously raked to give the appearance of waves surrounding the boulder.
In our design, I chose to use the boulders as if they represented mountains. Around the outside of the boulders I placed river rock in two sizes and then used pea gravel to fill in any holes and tie into the pea gravel throughout the garden and around the square-cut flagstone that take visitors through the garden into the backyard.

Using rocks along a pathway between houses
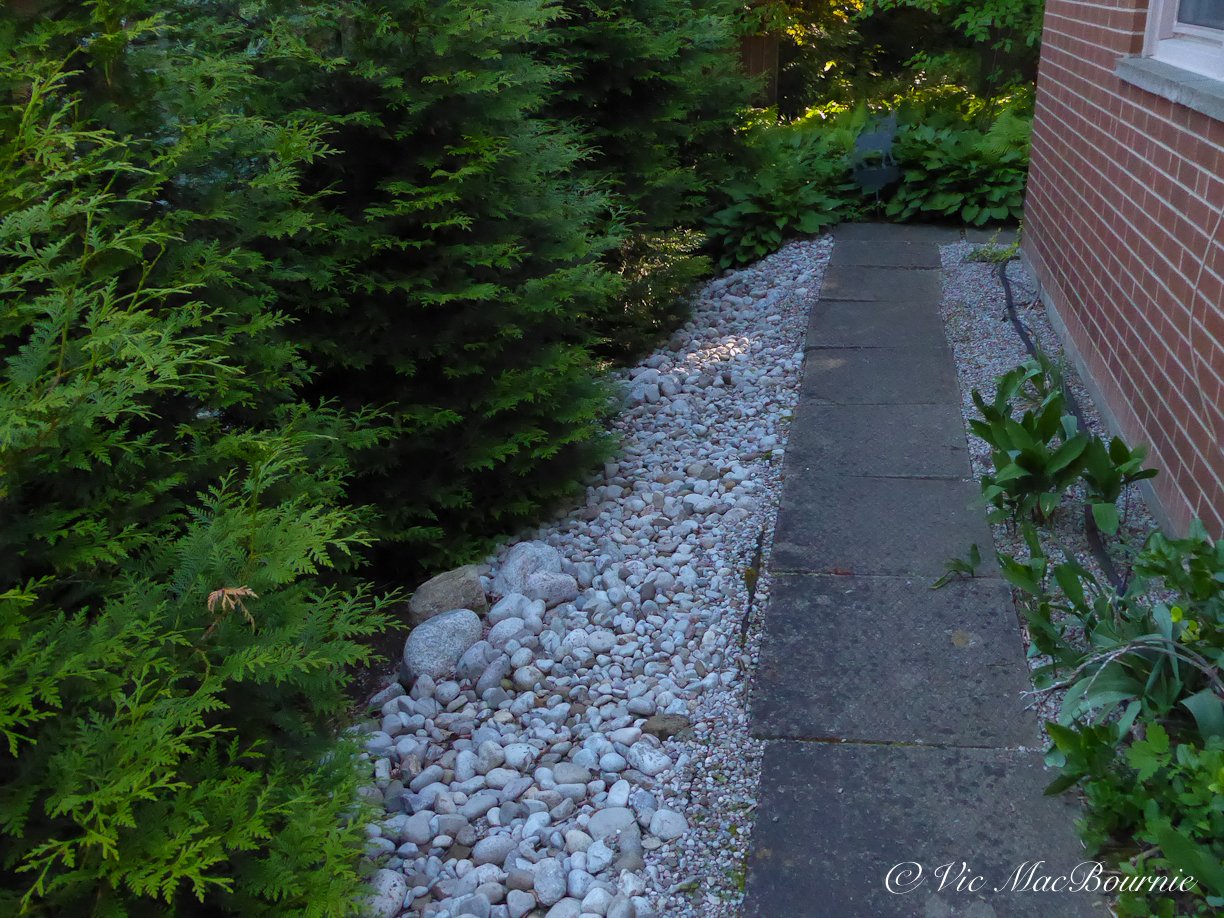
Our Japanese-inspired garden runs across the front of our home with a pathway leading through it to another pathway that leads into the backyard. By continuing the use of stone from the Japanese garden along the pathway leading to the back yard, the two spaces work together to create a natural flow.
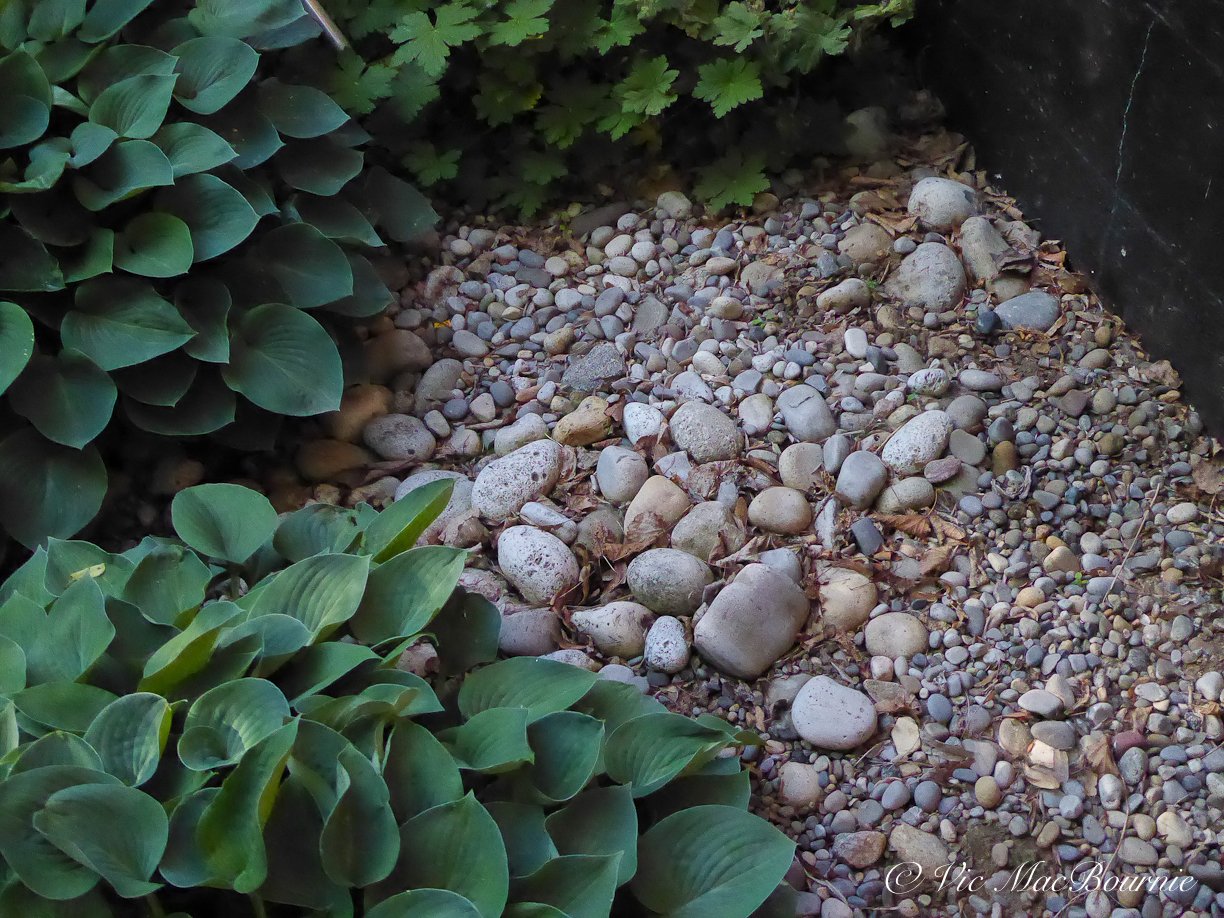
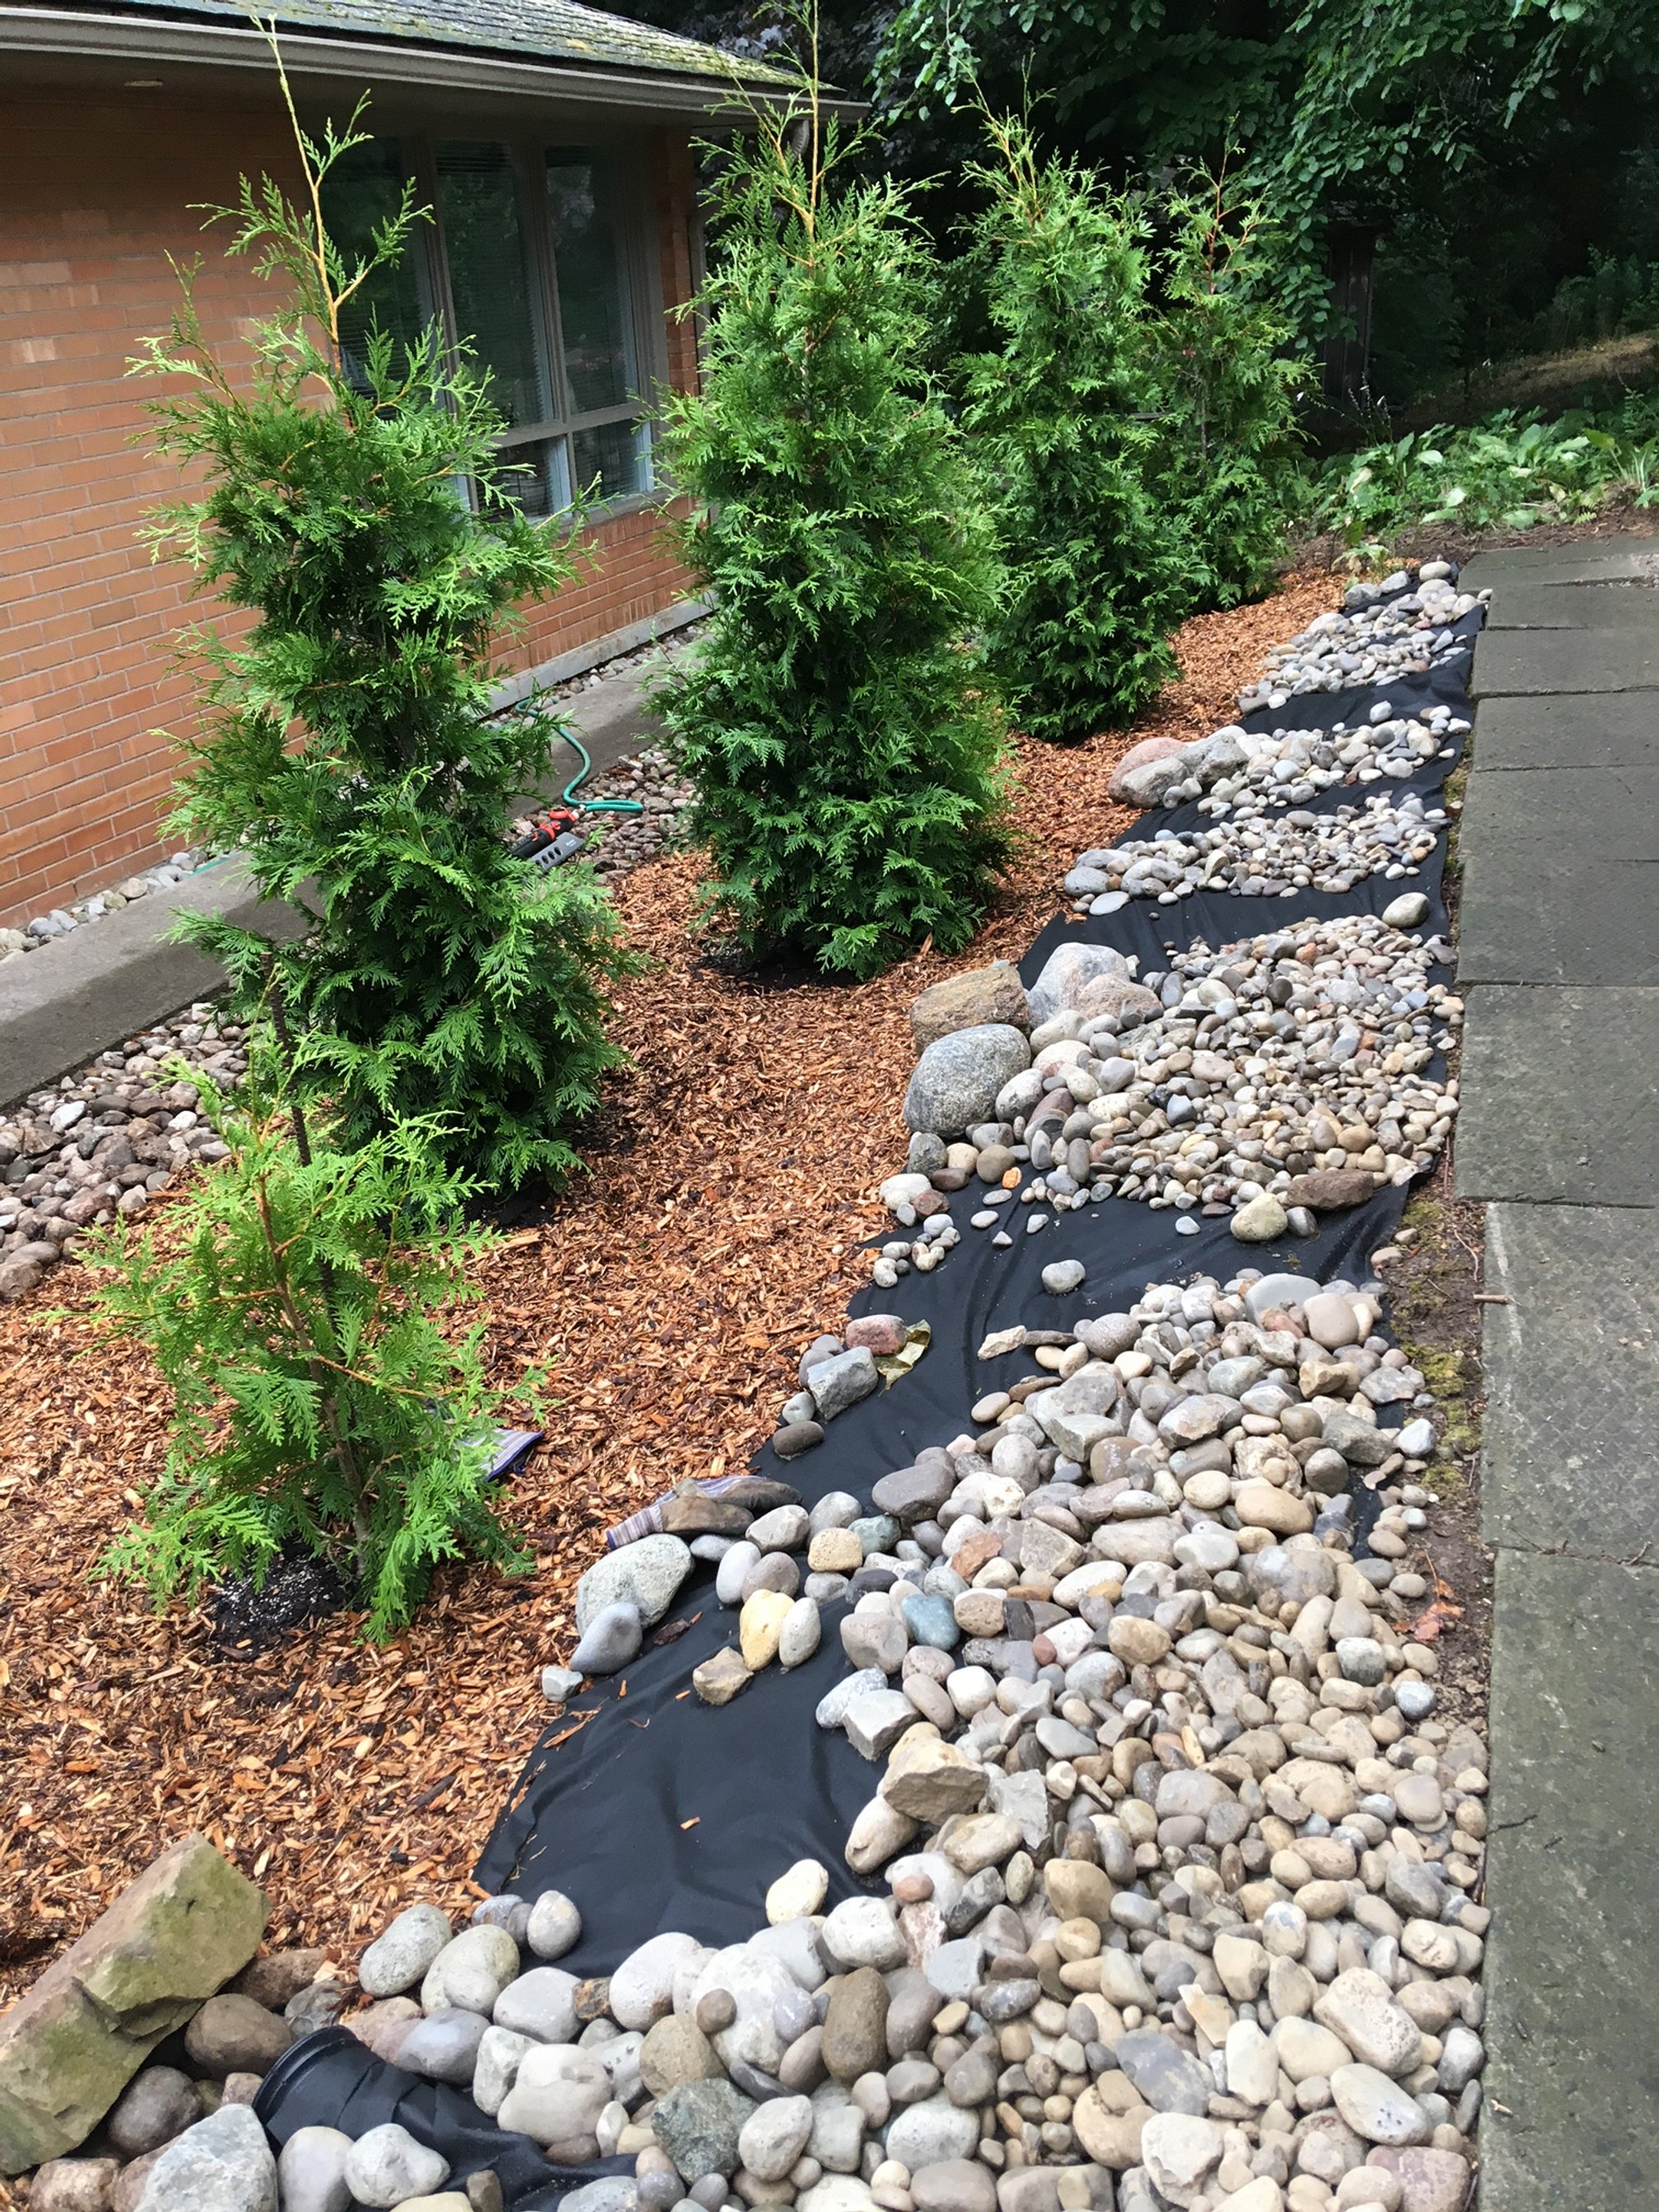
Green Giant cedars separate our property from our neighbours creating privacy and a beautiful green backdrop that opens up at the end of the pathway into a view of our neighbour’s lovely yard and our woodland garden. (The three pictures above show how we installed the river rocks between the path and the Giant Green cedars using a combination of three sizes of river rocks and finishing with pea gravel. The pictures also show how much the cedars have grown in just four years.
On both sides of this pathway we have used stone as a mulch to tie in the back and front gardens. The same dry-river pathway is picked up across the back of the home helping to tie the entire garden from front to back.
Along the side pathway, several layers of black landscaping cloth were laid down to keep weeds at bay. This was followed up by using large river rocks (hand picked at the rockery) to form small rockfalls along the pathway just to add interest rather than having all the same size river rocks. Once the larger rocks were in place, we began adding wheelbarrows full of river rock followed by shovel fulls of pea gravel to fill in any holes between rocks and add more texture to the vignette. Closer to the trees’ roots, we laid down a thick layer of natural shredded cedar bark.
The result is a completely maintenance free landscape that looks natural and makes walking down the path a lovely experience.

Author Profile: Vic MacBournie is a former journalist and author/owner of Ferns & Feathers. He writes about his woodland wildlife garden that he has created over the past 25 years and shares his photography with readers.