Cooking with cast iron on the BBQ
Cooking with cast iron turns everyone into a pit master. It’s too bad most weekend BBQ warriors don’t spend the time or effort to make cast iron part of their cooking arsenal.
If that sounds like you, keep reading because I think you will realize that you need at least one cast iron skillet.
Why you need a cast iron skillet
Hey, you might say, “I like to cook right on the grill and I don’t want anything between the hot flame and my food.”
Did you know that by using a cast iron skillet you can actually impart savoury and smoky flavours into the food you are cooking. That can be good if its complimentary, and bad if you are imparting yesterday’s filet flavours into your pie crust. But it’s mostly great when your skillet is adding flavour to your food.
Did you know you can perfectly sear meats in the cast iron pan and then transfer the pan directly into the oven or just leave it in the BBQ to cook slowly, creating the perfect one-pan cooking experience.
Did you know you can throw that same cast iron cookware directly into an open campfire in the backyard or at the lake.
Did you know that, with a little care, cast iron pans can last forever. Many families are so in love with their cast iron that they even pass them down over generations.
A bottle of high quality vegetable oil and a rag is really all you need besides the oven to season your cast iron cookware.
It’s okay if you are just learning, I am too
Let’s make this clear, I’m no expert when it comes to cast iron cooking (I’ve managed to collect a couple of skillets a two-sided Vermont Castings griddle and a Vermont Castings Dutch Oven), but I’m ready to go all in to learn the ins-and-outs of this ancient art of cooking. If you are looking for a solid skillet to start with, Lodge Skillets are excellent starting points at a reasonable price.
In fact, I recently joined a couple of Facebook groups dedicated entirely to cooking with and collecting cast iron cookware. If you ever doubted the passion people have for cast iron cookware, just spend a few minutes in one of these groups.
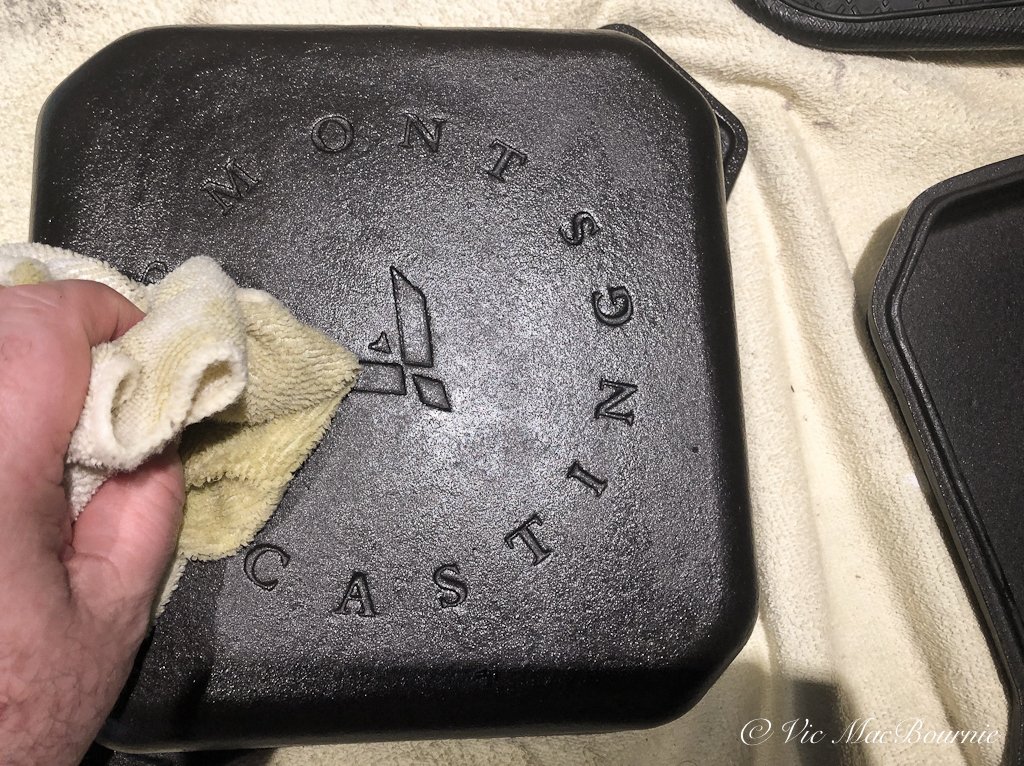
Part of my interest in cast iron cooking began with the purchase of our Vermont Castings Vanguard propane BBQ that came with a couple of heavy, well-made cast iron cooking grids. Seasoning up those was so much fun that I immediately went out and purchased the Vermont Casting cast iron griddle accessory.
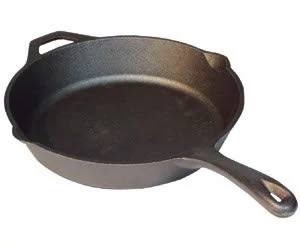
Below image (link) is the 14-inch seasoned skillet from Camp Chef that is the perfect size for quick meals.
That’s when things really took off – pancakes, eggs, little breakfast sausages, onions, mushrooms even smash burgers all became easily within reach once the griddle came on scene.
A small skillet followed, then a larger one for my Jambalaya dish, and finally the ultimate – a special Vermont Castings Dutch Oven made especially for their excellent BBQs. But the Dutch Oven can also be used on and in the stove as well as on open fire pits.
Over the next few months, I hope to share some of my favourite recipes with readers.
Cooking outside on the BBQ or over an open flame is an excellent excuse to spend time out in the garden and, I can’t think of many better ways to fully experience our gardens than spend time nursing a four-hour cook in the dutch oven listening to the birds singing and then sitting down with family and friends for a great meal al fresco style.
Before we can do that, however, we need to season those cast iron skillets, griddles and Dutch Ovens.
How to season cast iron cookware
Before you begin using your cast iron cookware, you will have to take some time to “prepare” the items to begin creating the “seasoning coat” that ensures a hard, non-stick coating and makes cast iron cookware so desirable by those who worship its cooking qualities.
Even if your cast iron comes “pre-seasoned,” it’s a good idea to add between one and three more preseasoning treatments to the cookware before using it. The more “seasoning” the better, but you can slowly build up the seasoning with each cook if you want to cut corners.
Even if you read that it is not necessary to season a preseasoned skillet or other cast iron item, take my word– just do it.
To add the first “seasoning” to your newly purchased “preseasoned” cookware, it’s a good idea to first wash the item with a mild liquid detergent in hot water. (In the past using soap was not recommended because of the strong Lye that was used to make soap. Today’s detergents do not use lye and are mild enough to use on cast iron.)
Some say not to use soap in this step because it will likely remove some of the thin coat of preseasoning that was put on at the factory. I think you can go ahead and use a bit of soap but a scrubbing with just hot water will be enough.
Once that is completed, dry the cookware off with a cloth and put it into a hot oven for a few minutes to complete the drying process.
Next, remove the hot cast iron item from the oven, place it on a safe surface and use a soft cloth to rub a very thin layer of vegetable oil (preferably avocado, grape seed or a high quality virgin olive oil) over the entire surface of the cast iron cookware including the bottom, sides and handle but paying special attention to the inside and sides of the skillet or other cookware.
Before putting the item into the oven, use a clean, dry cloth to remove any access oil.
Then, turn up the heat in the oven to high (preferably 500 or greater) and leave the cookware in the heated oven for about an hour. After an hour, let the item cool naturally inside the oven. (This can also be done inside your gas or woodburning BBQ).
Repeat, as necessary to acquire the number of seasonings you want on the cookware, but, after the initial seasoning, more can be slowly added following each use.
The Vermont Castings specially designed Dutch Oven is perfect for using on the BBQ, in the oven, on the stove or even on an open campfire.
Here are the seasoning steps in point form
Give the preseasoned skillet a quick cleaning with hot water. You can add a little mild liquid detergent if you wish.
Dry the skillet with a soft cloth and heat it on the stove or in the oven to remove all the water on the surface.
Use a high smoke point oil like canola and rub it into all areas of the skillet including the non-cook surfaces.
Once it is fully coated, use a clean cloth to wipe off any excess oil.
Place the cast iron pan upside down in your oven and use either a piece of aluminum foil or a cookie dish to catch any oil drips that may occur. Providing you have used a thin coat of oil and wiped off the access, you should not experience any dripping.
Heat oven to its highest temperature and bake the cast iron for about one hour.
Turn off oven and allow the pan to cool naturally.
Once the cast iron is cool to the touch, you are free to begin using the item to cook.
The Vermont Castings Dutch Oven made especially for use with their BBQs.
How to maintain the seasoning on your cast iron cookware
Once you have established the initial seasoning, maintaining the cookware is quite simple. Following every cook with the cast iron cookware, ensure the item is clean either by washing it with hot water and a mild detergent if necessary, or preferably, just by wiping it out with a clean cloth, drying it thoroughly and adding a thin coat of oil before heating it in the oven or BBQ on high for 15 or 20 minutes.
This should maintain and enhance the coating and non-stick qualities over time.
How to fix dirty or rusty cast iron cookware
Depending on what and how you cook a particular dish, you may have to take additional steps to clean a skillet, griddle or Dutch Oven from time to time. If there are burnt-on food items remaining on the cookware even after a wash with hot water, consider using a plastic or wooden spatula to remove any stuck-on or burnt food. If this does not remove the items, you can add a teaspoon of coarse salt and a sponge to scrub off any particles. The dry salt will help to scrape off the carbon left on the cookware but not scratch off the “seasoning.”
Be sure to carefully wash off the salt and season the cookware following the cleaning and storage of the cookware.
And that’s it folks. Oh, one last thing. If you do leave your beloved skillet out in the rain and it gets a little rusty, simply follow the steps above and after a few seasonings it should be back to perfect.


