
Tips and ideas for simple DIY landscaping projects
Landscaping tips to save time, money and your back
A garden isn’t created in a day, a week or even a month unless, of course, you hire a landscaping company to do it all for you.
Let’s face it, however, that can be an expensive path most of us would prefer not go down. And there is no real reason that most backyard landscaping projects can’t be tackled by homeowners themselves, maybe with some help from friends, family and even a few professionals.
The trick is to have a general plan (even if most of it is in your head) and to tackle the projects one at a time over a number of months and years.

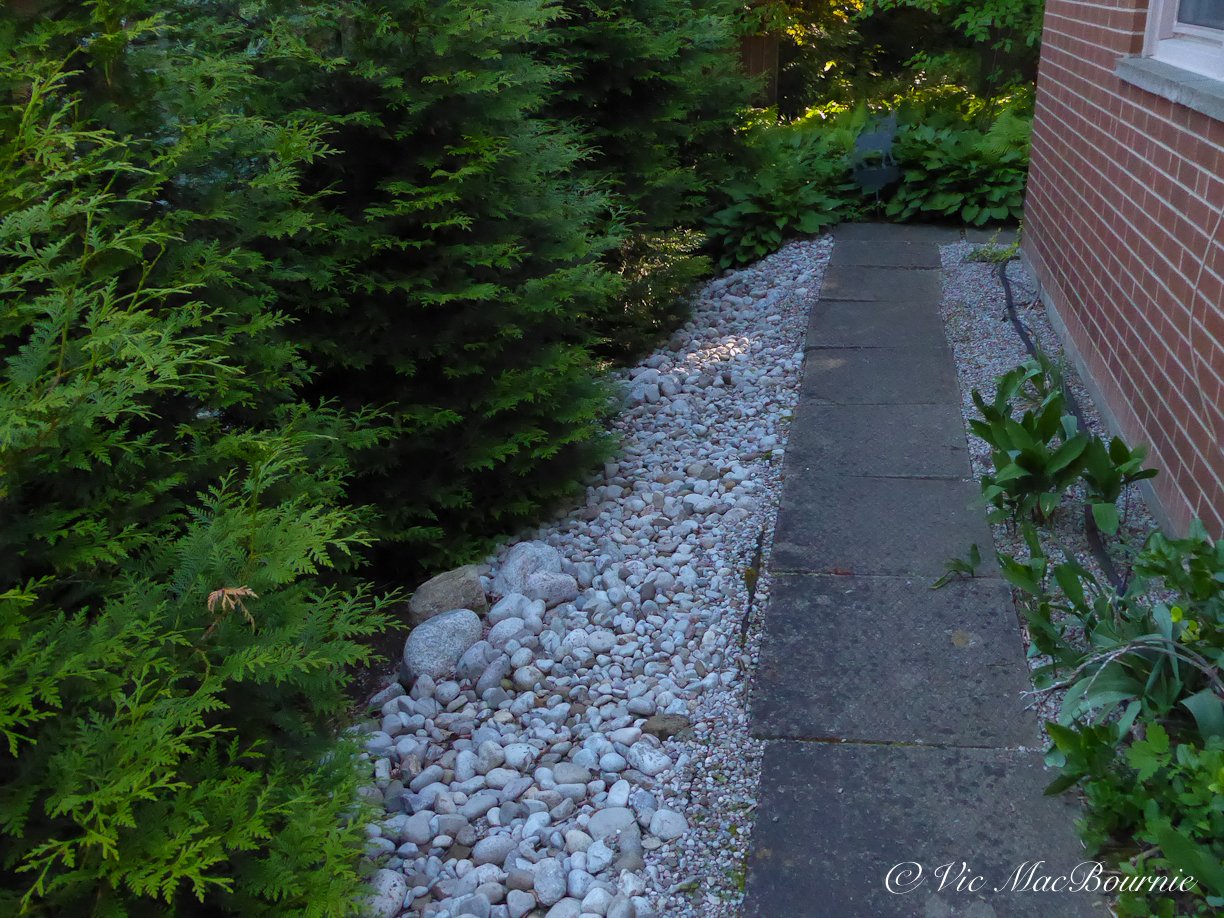
A garden path flows into a dry river bed with bubbling rock.
In our front and back yards, my wife and I have completed most of the projects on our own. Those 8-hour days of heavy lifting and lugging six cubic yards of stone and mulch in wheelbarrows are thankfully behind us now, and we are generally left with maintenance and some minor landscaping projects.
The following are a few tips to help you tackle simple landscape projects on your own or with help from family, friends and even a few professionals to handle dangerous jobs or ones that would benefit from the use of heavy machinery.
• For more landscaping tips, check out my post on investing in landscaping or my earlier post on Ten Money Saving Landscaping Tips.

The garden pathway of pea gravel and stepping stones has withstood the test of time.
Building a pathway in the backyard
One of the first projects we tackled when we moved into our home more than 25 years ago was to build a simple pathway in the backyard that stretched almost entirely across the back of our home. Oddly enough, there was nothing connecting one back door to the other except grass – that same turf that covered almost the entirety of the 1/2 acre lot. (About 80 per cent of the grass has been removed. Check out my earlier post on the value of removing most of your grass.
See below, for more on how to remove grass the easy way.
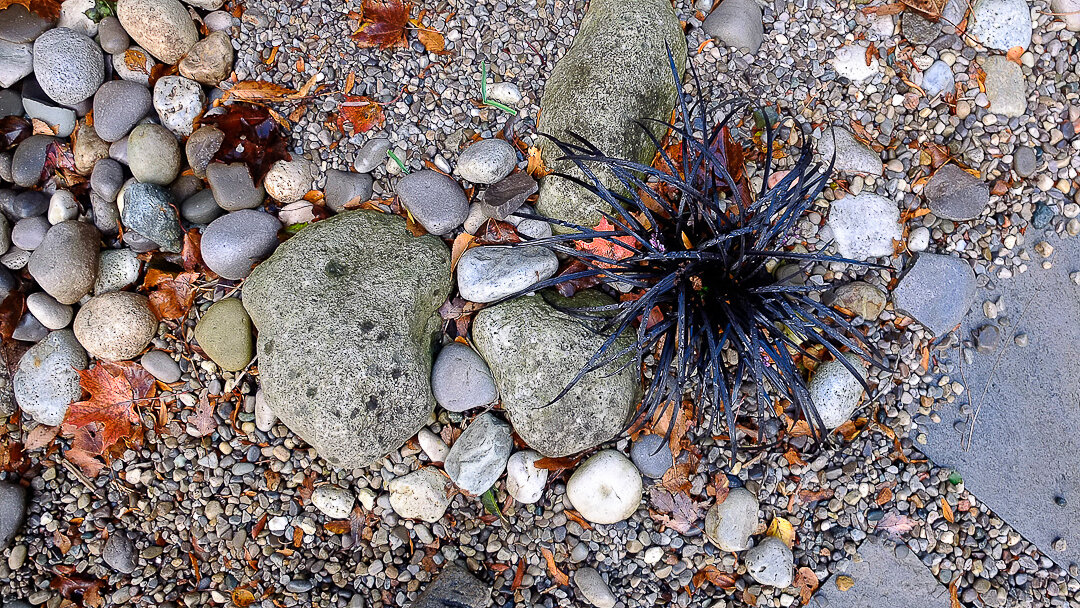
Creating vignettes like this island of mondo grass in the dry river bed pathway adds interest to what could become a boring pathway of pea gravel and flagstone.
The pathway plan
The plan involved enlarging a too-small and -narrow garden that stretched across the back of the house between the two doorways leading to a back patio. By enlarging the garden by creating a larger half-circle garden it would not only give us more gardening space, but be one side of the arched pathway that would lead between the two doorways.
The original pathway needed to be wide enough to use with wheelbarrows and allow easy movement into the patio area of the backyard. By using a combination of pea gravel to form the base and square-cut flagstone to create stepping stones through the pea gravel, we were able to create an organic pathway that looked good, was permanent enough, but still left room to be easily changed over time.
There are a number of reasons I like this approach not the least of which is the satisfying crunch beneath your feet as you walk along the pathway (if you are on the pea gravel), and the almost instantaneous drainage that the pathway provides.
A deep culvert was filled in with river rock to create a dry river bed using pea gravel and different-sized river rock. Notice the grasses used to break up the river rock and give it a more naturalistic look.
The same design style was adopted in several spots throughout the property including in the front where a dry river bed was created to deal with a deep culvert that kept eating cars trying to turn around in the cul-de-sack.(see picture above) We also carried the same theme around the back patio where large boulders were placed surrounded by river rock and pea gravel, as well as the front Japanese-inspired garden. (see below.)
I also used the combination to tie in an existing pathway between the front Japanese-inspired garden with the pathway in the back. (See series of images below.) River rock outcrops and pea gravel fill a space between our property and our neighbours after we planted a strip of cedars to replace a tired hedge. For more on this project, check out this earlier post.
Getting to work building the pathway
In this instance, the grass was removed and two layers of black landscape mulch was put down to keep weeds grass or anything else from growing up through it. Normally, I would just put the black landscape fabric over the grass rather than remove it, but I needed the depth that removing the grass provided to get the proper depth of pea gravel. It’s important to lay the pea gravel to a depth of three to four inches, more would be even better. This completely stops any light from getting to the soil and further reduces the chance of anything growing up through the pathway.

The pathway of pea gravel and square cut flagstone is shown with its edges softened by wild geranium, hostas and snow-in-summer being allowed to freely grow over the pathway. the plants eventually need to be trimmed back but I like the look of a more natural pathway.
Two professional plastic edge strips (not the cheap flimsy stuff you can get at many “big box style” stores) were placed in a semi-circular fashion to hold back the soil of the garden and create a barrier for the pea gravel in the pathway.
Once the pea gravel was dumped and smoothed out, it was a simple matter to place the bluestone stepping stones in a way that was comfortable to walk on. It’s important to note that the flagstone stepping stones, though heavy enough to take typical foot traffic, do move about at times and need to be straightened from time to time.
Pathway building tips
Keep it simple. No need to complicate a simple pathway.
Pea gravel is an excellent choice because it can be easily topped up
Pea gravel and blue flagstone work nicely together creating a bluish-grey walkway through a garden. The combination is perfect for a hot, dry area or for a southwest or xeriscaping yard.
Use double layers of a high quality landscape fabric to ensure long-term success.
Use at least three inches of pea gravel (more is even better). Top up when needed.
Allow plants to grow over the edges to help soften the path. I have used hostas, Japanese painted ferns, black mondo grass and low-growing sedums to name just a few.
The result was a 4-5 foot-wide pathway that picked up from a path from the front of the home and guided visitors across the back of the home to the main patio while it passed through a rather formal garden on the left side and an enlarged, half circle style garden on the right.
Today, about 25 years later, the pathway continues to function much as it was originally intended to do.
Changes over time to the pathway
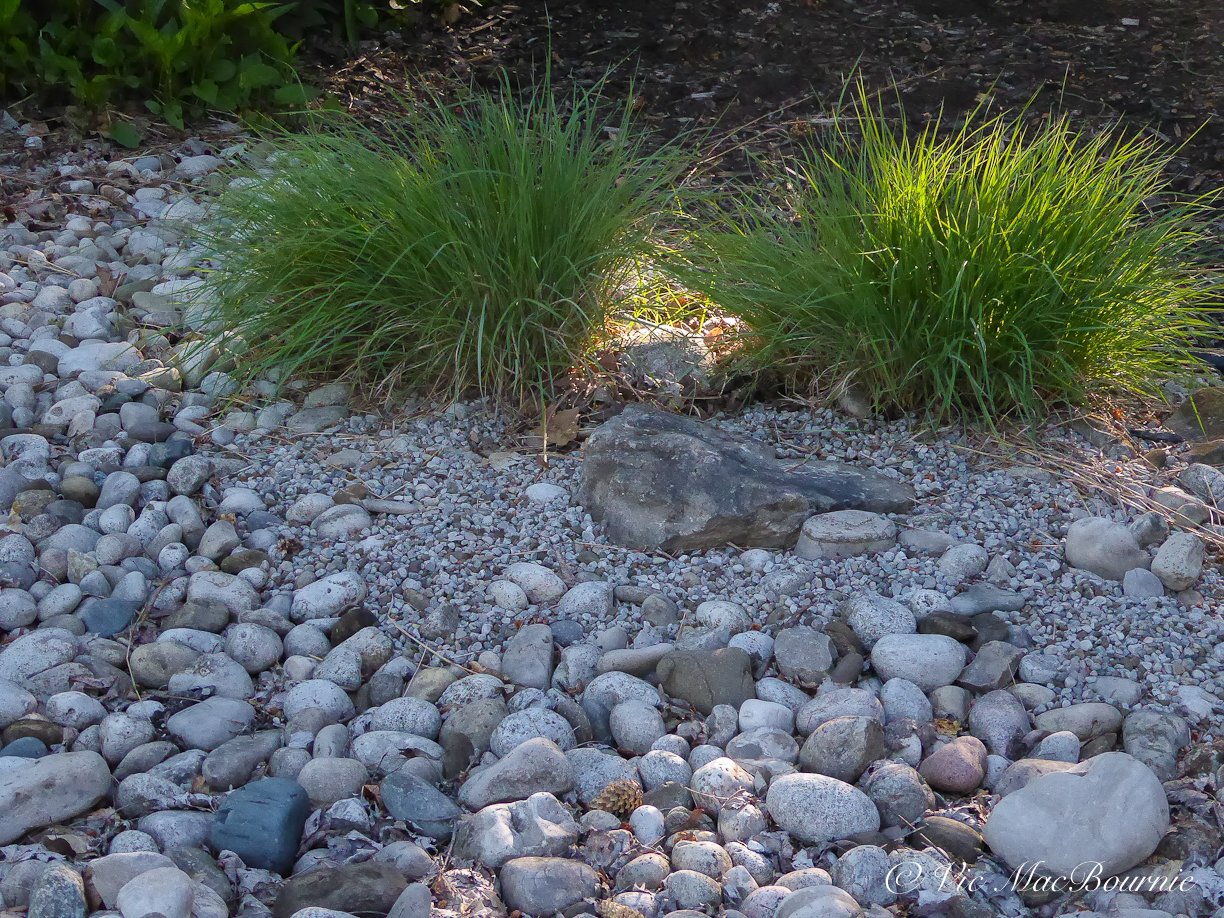
There have been minor modification to the original idea over the course of its life. One of the benefits of creating a non-permanent project is that it can evolve over time. In this case, the pathway was incorporated to form part of a dry river bed that actually crosses through the pathway.

The birch grove during it’s early stages with the dry river and bubbling rock.
The dry-river bed concept came about after I decided I wanted to create a birch grove that surrounded a pondless waterfall. (link to the making of our birch grove.) I loved the idea, but didn’t like the idea of a waterfall rising out of a flat area. A pondless waterfalls works best if it looks natural and, in this case, it would have looked like a man-made hill with a waterfalls rising out of nowhere.
I do have a hill, however, in the back of my property that just begs for a pondless waterfalls.
Instead of the pondless waterfalls, I went with a small bubbling rock that spilled out into a dry river bed surrounded by three clump birches (the equivalent of about 11 birch trees). The dry river bed runs down to the original pathway, across it and into the original garden which was covered in large river rock and pea gravel interspersed with small, compact hosta, an island of black mondo grass and a few Japanese Painted ferns.
The combined dry river bed, pathway and bubbling rock work together to create a large area across the back of the home.
Plants are allowed to spill over the edge of the pea gravel to create a more organic and free-flowing area without any hard edges. The black plastic edging on the one side has been removed and the other side has long disappeared under the plants that have been allowed to grow over it.
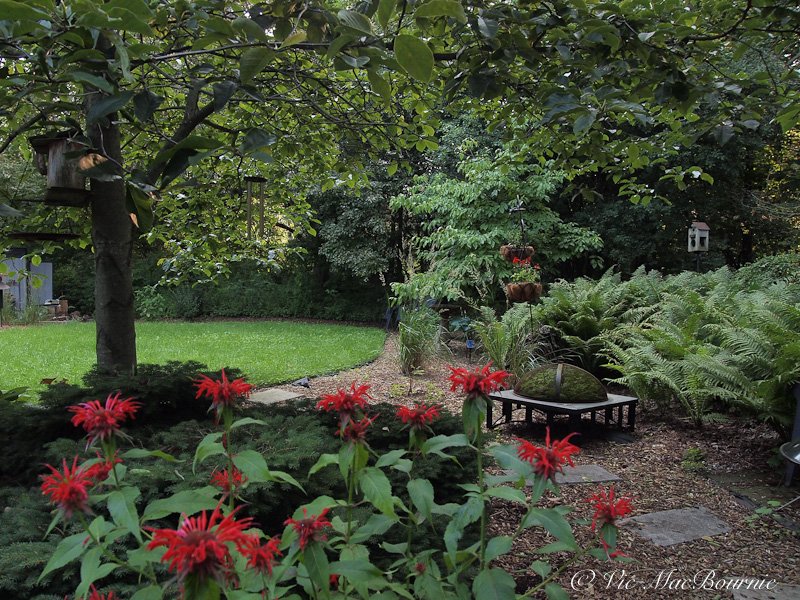
This simple pathway of square cut flagstone wanders through the woodland past a colourful display of bee balm and the fern garden on the right.
Another simple pathway idea
In another, less formal area of the garden, (see above) we used the same square cut flag stones as a stepping stones simply dropped into a thick bed of mulch. Again we used a visually pleasing curved path that leads from the side of the home, past our woodland fern garden to a grassy area in the middle of the woodland garden. The path begins at a deck box at the side of the home and leads past a firepit and a DIY moss garden nestled into an old copper firepit.
This simple pathway is as much aesthetic as it is useful helping to break up a large expanse of cedar mulch.
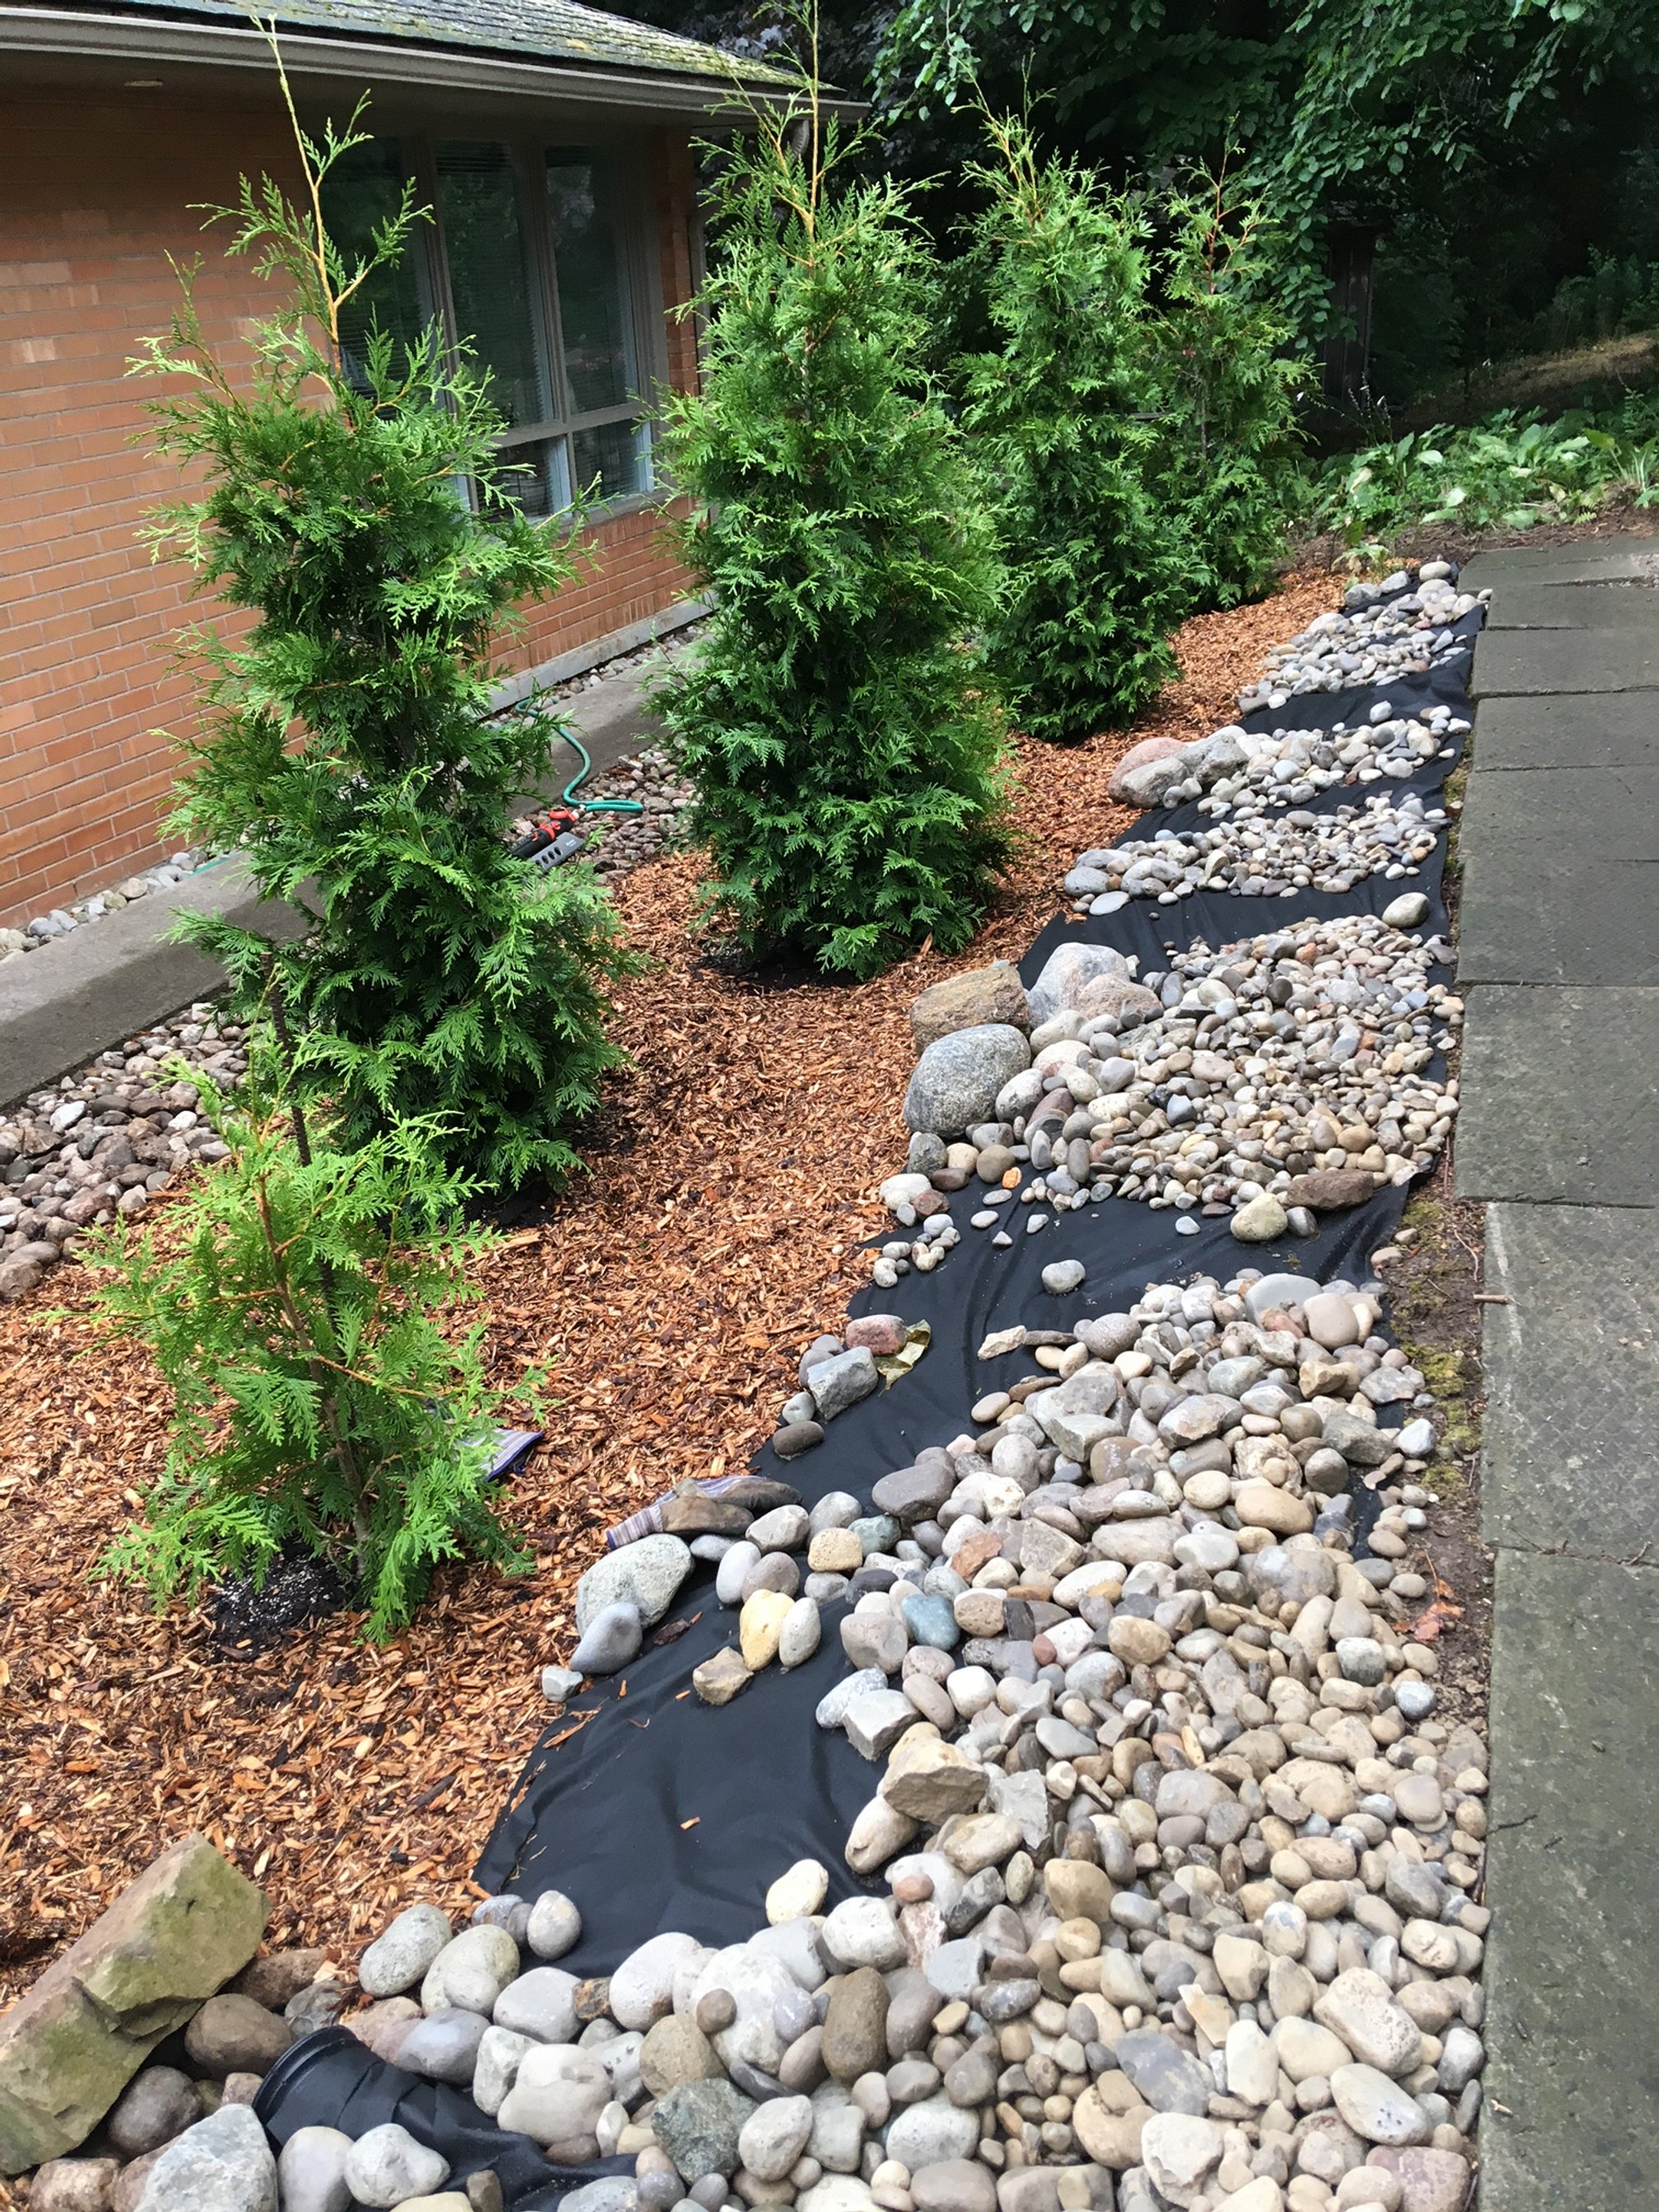
This series of images shows the making of a dry river bed around our Green Giant Cedars. Pictured here is the beginnings of the landscape project fallowed by images as the cedars being to fill out.
The cedars have filled in and are beginning to look natural. Notice the larger rock outcrops that help give it a more natural natural look.

A detailed image showing the variety of river rock that help to give a more natural look.
Massive boulders inspire Japanese-style plan
With the back landscaping under control, it was time to deal with a landscape issue in the front yard. The problem was that our home’s garage was converted into a family room years ago by previous owners, but the blacktop driveway ran right up to the front that is now the family room.
It never looked right to me but it took me several years to come up with an acceptable landscape plan.
It started when a neighbour offered me 11 massive boulders left over from a professional backyard landscaping project.
Those boulders became the inspiration for a Japanese-inspired front garden that created a natural barrier to the driveway flowing directly into our family room.
For more on this project, check out my earlier post here.
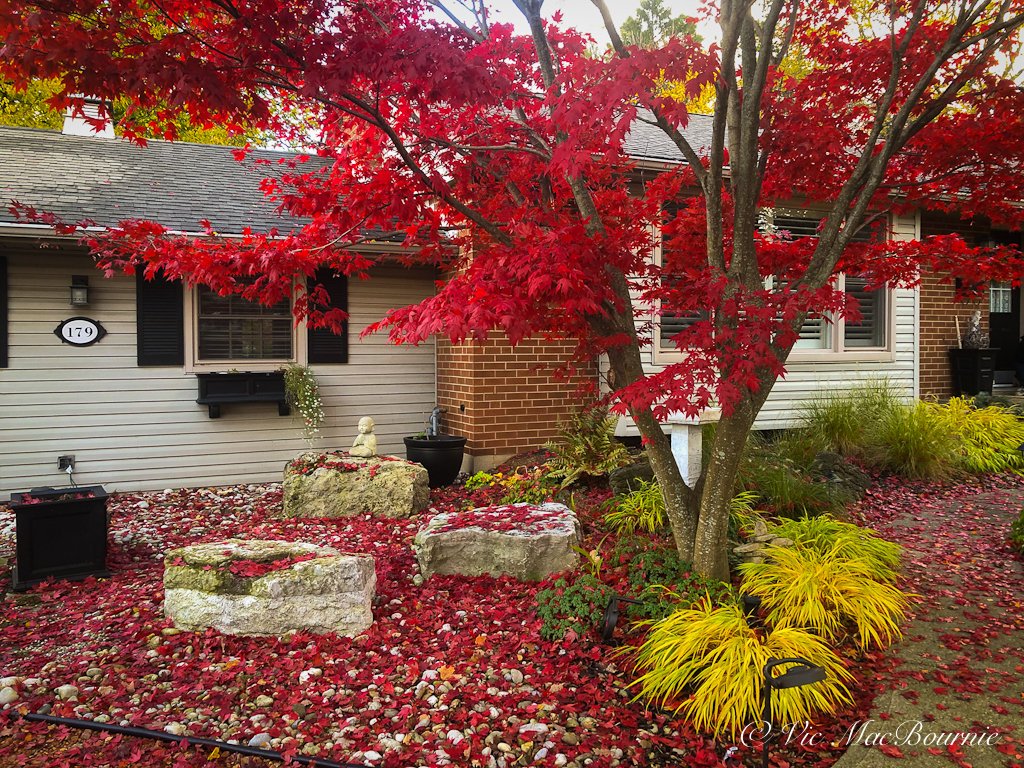
A portion of the Japanese-inspired garden in fall showing the large boulders, Japanese maple and Japanese forest grass

The Japanese-inspired garden showing a pathway through the large boulders flanked by Japanese maples.
Japanese garden landscape tips
Keep it extremely simple in the Japanese tradition
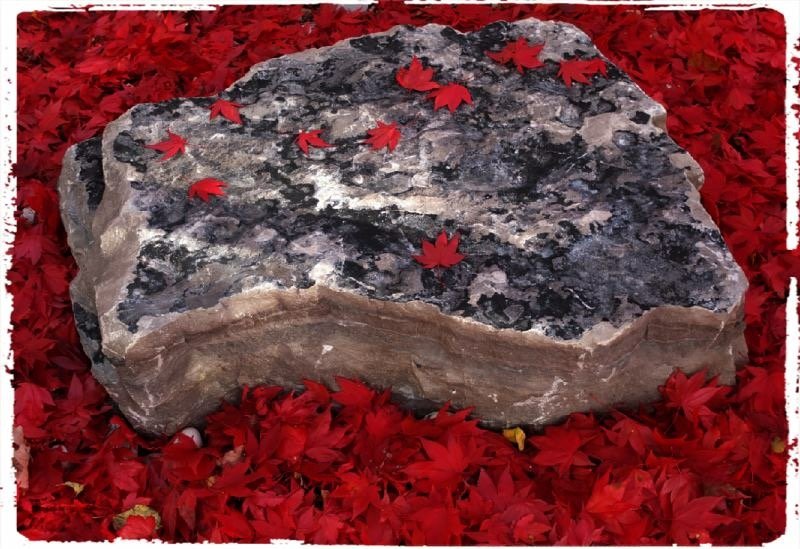
Use at least one large rock or boulder (I used four in the garden)
Incorporate natural moss if possible
Try to incorporate some form of water (I used a square bird bath)
Use stepping stones to go through the garden

The Japanese-inspired garden plan
The plan was to use eight boulders down the side of the driveway to hold back the front garden, and then carry that theme across the front of the home by using three more boulders (always work in odd numbers) to ground the Japanese-inspired garden.
The boulders were carefully placed across the front of the driveway in a ratio of two to one. The concept was to create a canyon-like feel with two boulders on one side and another by itself on the other. A pathway – once again made of blue flagstone stepping stones set in analgesic??? screenings – ran through the middle of the canyon created by the placement of boulders.
Pea gravel and river rock created a dry-river feel but with a more formal look. Moss grows between the flagstones under a massive Japanese Maple on one side and a smaller, weeping Japanese maple helping to balance the single boulder on the other side.
To finish off the landscape plan, all the blacktop was removed from the front 3/4 of the driveway and replaced with red crushed gravel. The gravel was used for several reasons: First, its porous nature allowed rain water to more easily penetrate into the soil and feed the large maples whose roots ran under the driveway. Second; the red gravel offered a nice break from the predictable black top driveways and finally, it was a cheaper alternative that works in our semi-urban neighbourhood.

These ceramic Fish in the Garden add a splash of colour and help to create movement in the Japanese-inspired garden
Be sure to check out my earlier post, for more on our Japanese-inspired front garden.
Removing turf the easy way
If there is one thing I dislike in a landscape, it’s grass. You can read all about my dislike of turfgrass here.
Even worse than having too much grass, however, is having to remove it before beginning a new landscape project.
The majority of projects at our home have not called for the removal of grass. Instead we have been lucky enough to be able to just kill it by either using newspapers and cardboard to smother it, or landscape fabric and mulch.
Quick tips to remove grass
use several layers of newspapers (preferably only B&W parts)
Cardboard is a good choice because it does not break down as readily as newspaper
Use a thick coating of mulch (shredded bark) to cover the newspaper or carboard. A think layer will just blow off exposing the newspaper and causing it to break down too quickly resulting in weeds etc.
After laying down a three- to four-inch layer of mulch, water it down regularly to weigh it down and ensure it does not blow away exposing the newspaper or cardboard.
If you need to remove large areas of grass, you can rent gas-powered machines to remove it, or manually operated sod removers, but if it’s possible simply cover the grass with newspaper and or cardboard and then heavily mulch it with shredded cedar mulch. This “sheet mulching” method simply starves the turf grass of light and kills it over the course of time (usually one full year.)
Once the grass is killed, you can begin your project, whether that is planting into the area or more major landscaping projects. By planning a year ahead, you can save yourself a lot of work, time and money.
Many gardeners frown on black landscape fabric as a means to kill grass. I’m not one of those people. Don’t use black plastic to kill turf, but I regularly use the breathable fabric covered by at least three inches of mulch. Once the grass is destroyed, you can pull up the fabric and begin planting. Or leave it down and cut large holes through it to begin planting.
Ideally, over time, all the fabric is removed, the soil can breath and wildlife has complete access to the entire garden.
Obviously using newspaper and or cardboard is a preferable approach but if you have huge areas to cover, you may not have enough to cover.
It’s a wrap: Landscape tips and ideas
Creating your perfect landscape should be fun and rewarding, not a pain and extremely expensive.
It’s important to realize that the landscape will likely never be fully completed and that it should be looked at as a marathon not a sprint. Tackle the most difficult and taxing projects while you are still young enough to handle the heavy lifting, but don’t be afraid to hire a professional if you think that the job is too much for you.
We hired a bobcat driver for one day to move the boulders into place along our driveway and place them in our Japanese-inspired garden. Before he arrived, however, I knew exactly where I wanted each and every boulder and guided him to the areas where the boulders were placed. With a few exceptions, the boulders fit perfectly into place and the job was done in just a few hours.
In a previous home, however, I moved similar sized boulders on my own using a series of levers. Needless to say, it was not only a lot of work but took forever to move the boulders just a few feet.
For another landscape project, I paid my nephew to build a small front patio out of flagstone and help me install front steps that looked like large natural stones.
In our most recent landscape project, we hired a student for several weeks to tackle some big projects that required little more than a big strong lad, a shovel and the willingness to get his hands dirty. The result was not only the completion of several smaller landscape projects, but feeling good about helping a young man during a summer of Covid when there were few jobs for University students. (See the full story here.)
Whether you do all the work yourself, use family friends, student help or a professional, you can save yourself time and money by developing a plan on paper or in your head depending on how you like to work, tackling one major project a summer and realizing that the goal is not to be done, but to create a landscape that pleases you, your family and the wildlife that will be by your side on this journey.
After all, it’s their home too.